How to manage your teams in Jira effortlessly
With Timesheet Builder: Resource Planning and Teams Management, you create and manage structured Jira teams with a unique roles and permissions system.
This is how it’s done:
Create a team
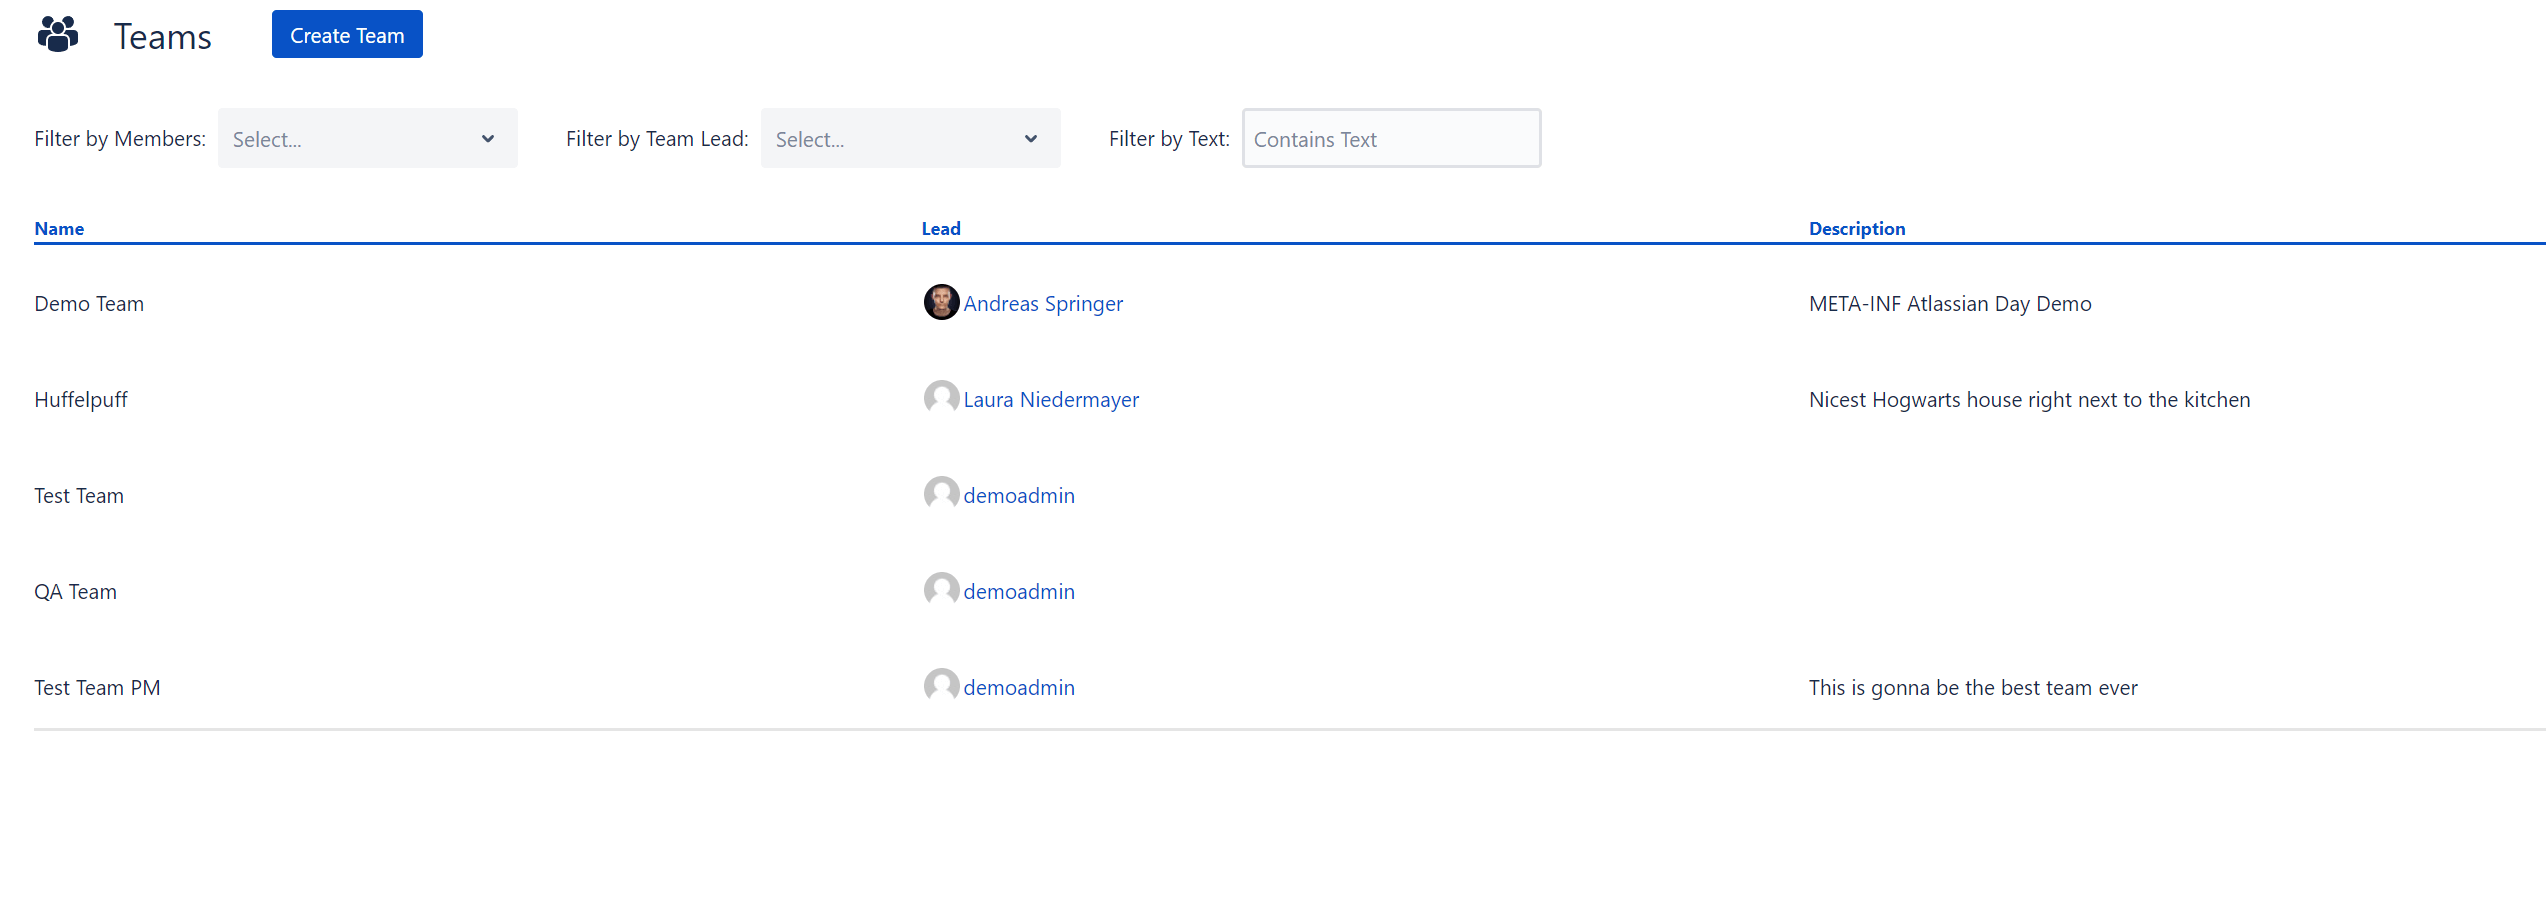
1. Navigate to the Teams module of Timesheet Builder. On the overview page, you will see all the teams that have already been created. Numerous filter options such as by members, team leads or plain text make it easier for you to get an overview.
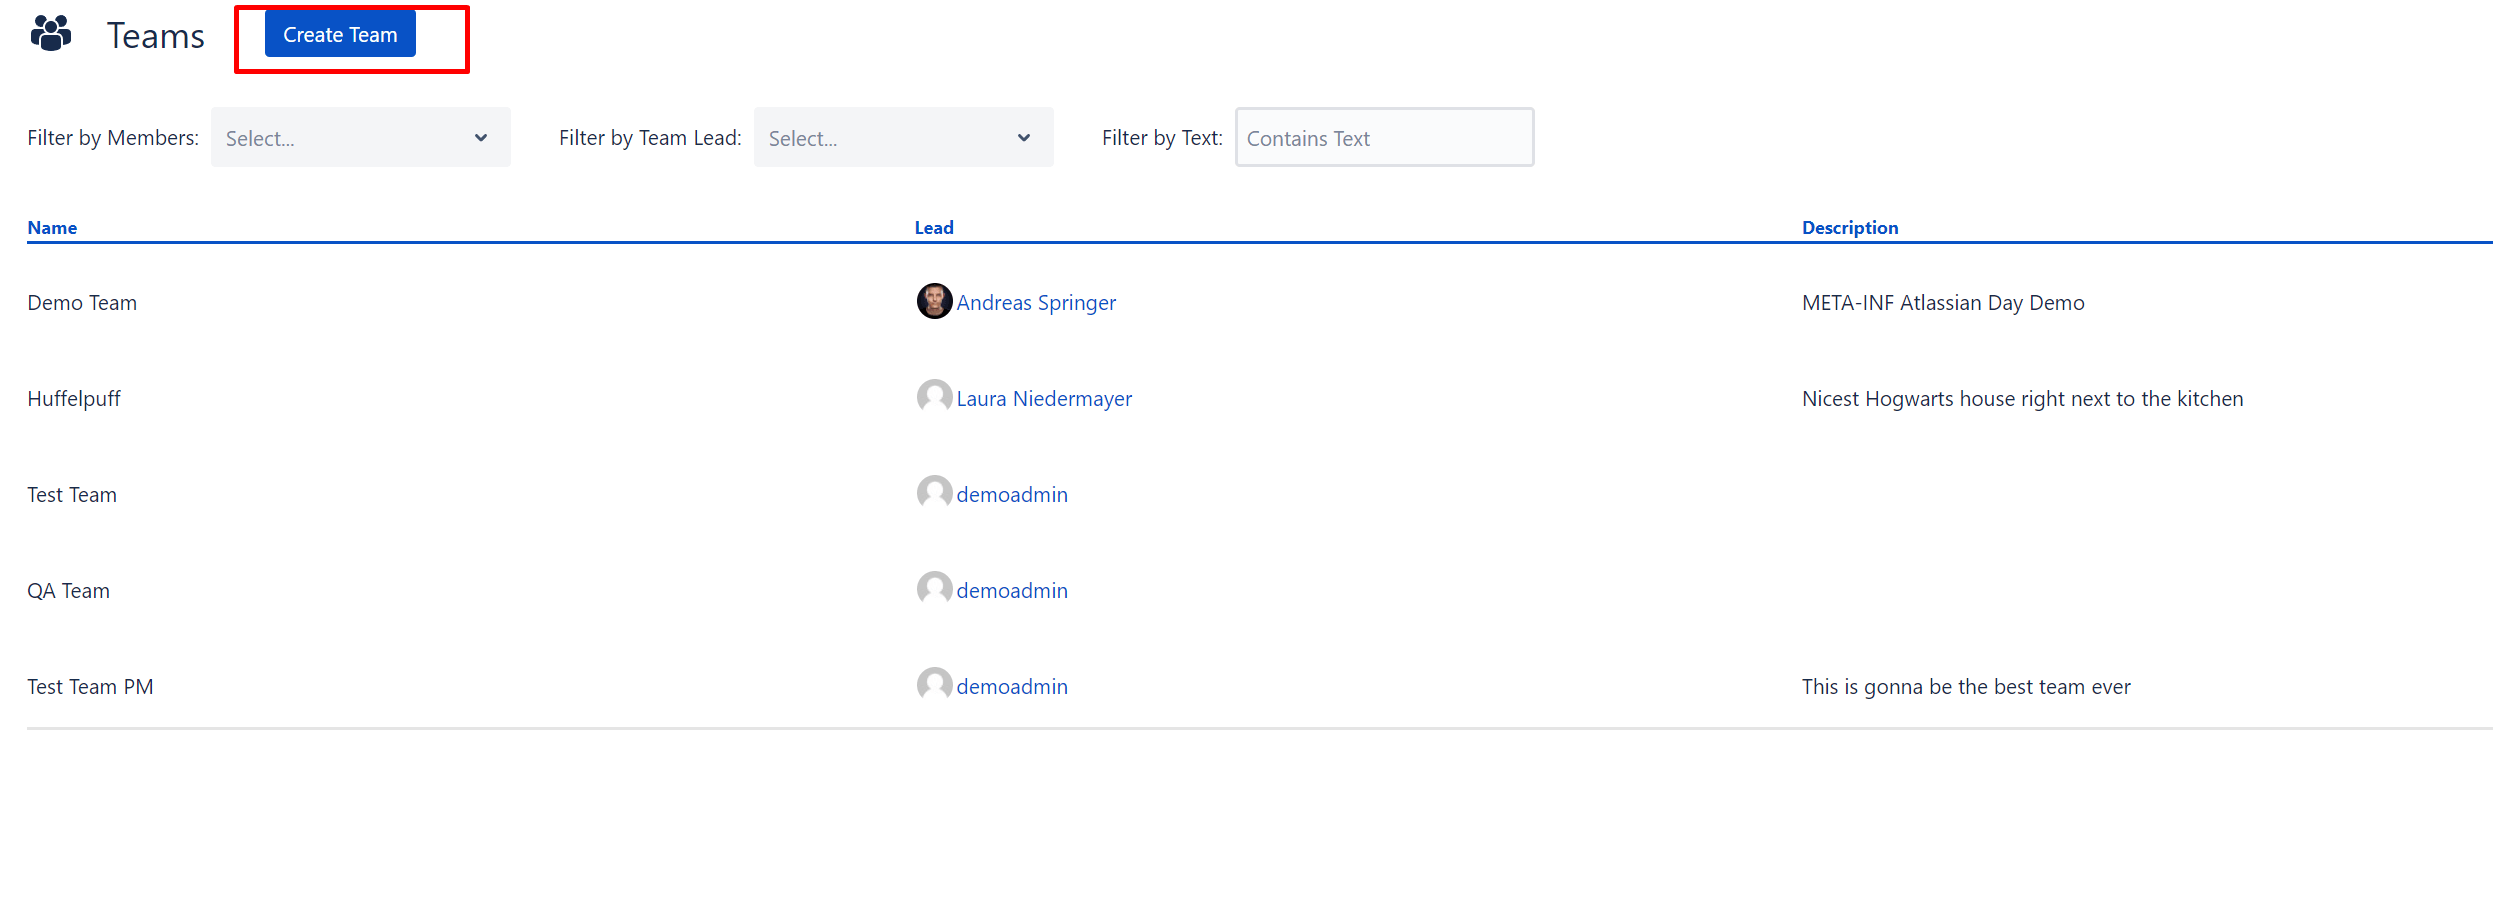
2. To build your own team, click on Create Team.
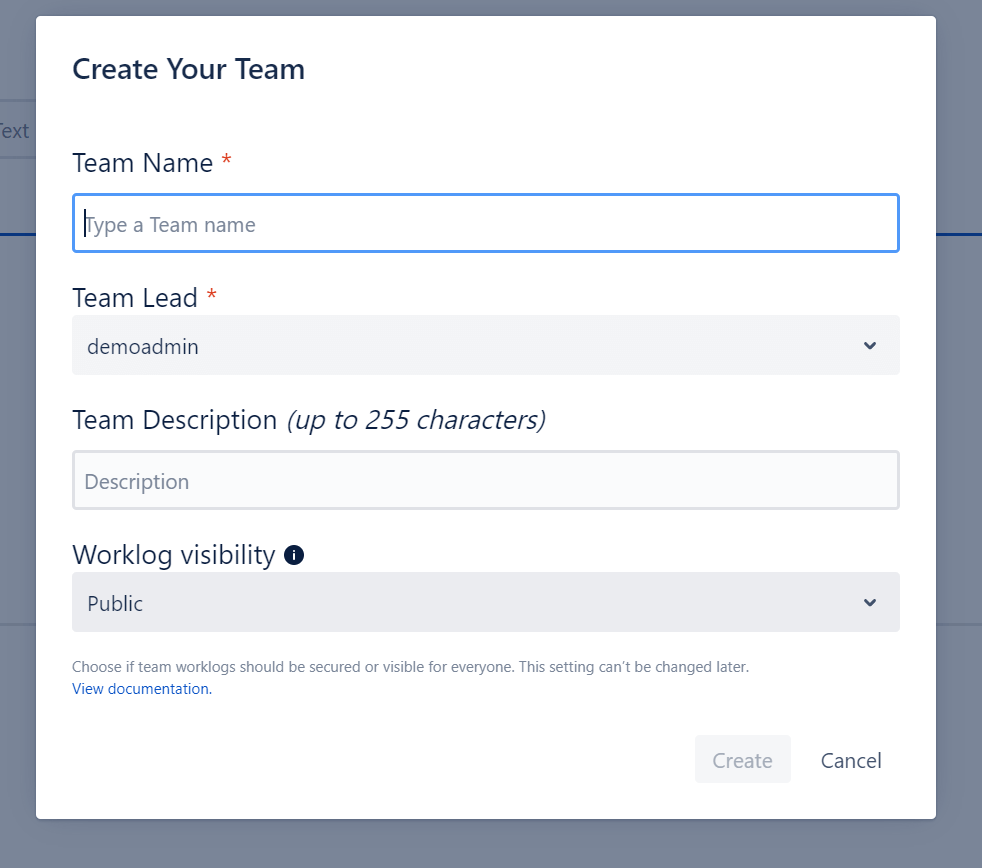
3. Then you will see this pop-up:
All fields marked with an asterisk are mandatory fields that you must fill in to create. So, enter a team name and a team lead. This person will act as the administrator of the team. By default, this is always the person who is currently creating the new team. The team description is optional, but you can already guess that it’s a good idea to fill it out.
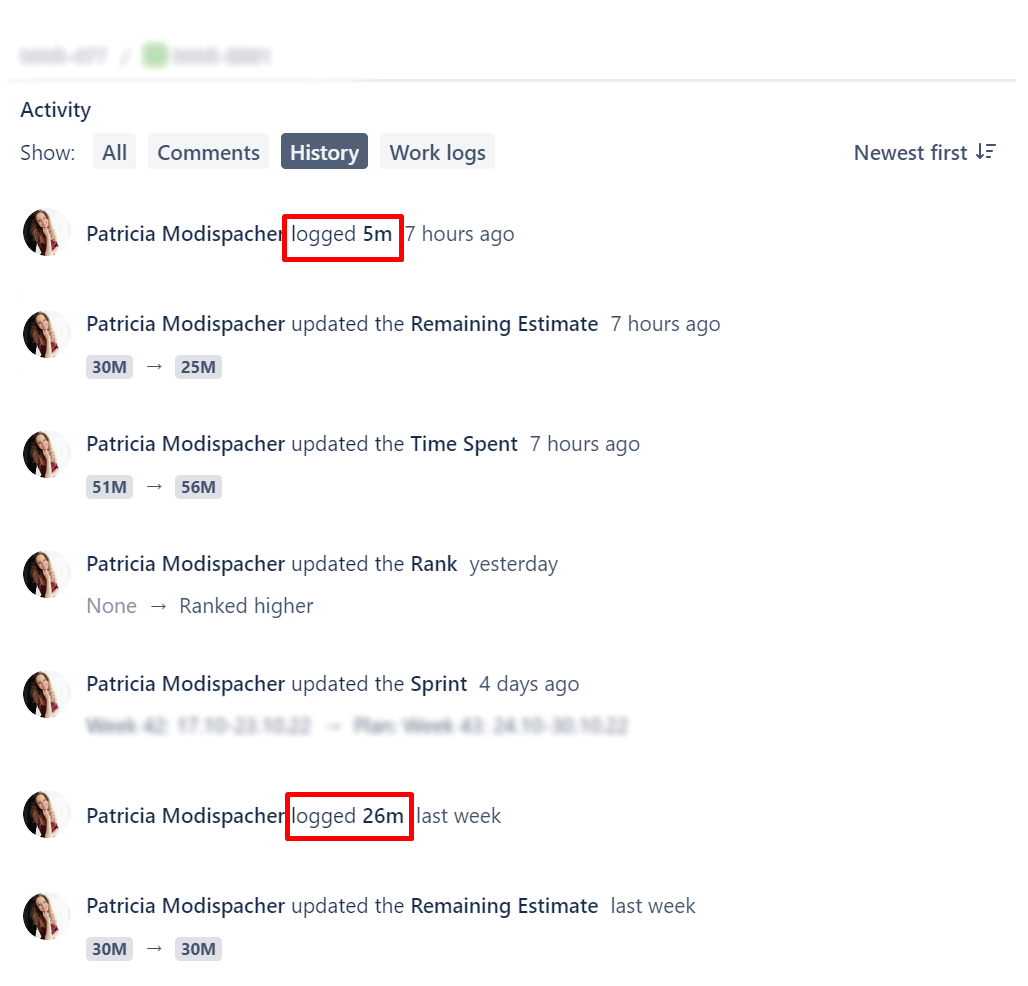
Worklog visiblity is a globally unique feature that helps you track time in a privacy-compliant way. Here, you can choose between Public Work Logs and Secured Work Logs. Public Work Logs are visible to all team members who have the appropriate permissions. However, these work logs can also be viewed without permissions in a workaround, as they are stored in the task history and can be accessed in the “Activity” issue section, such as here:
If you place more value on data protection, the Secured Work Logs are recommended. With this setting, there are no workarounds and no risks: Only the selected people/roles can see the work logs.
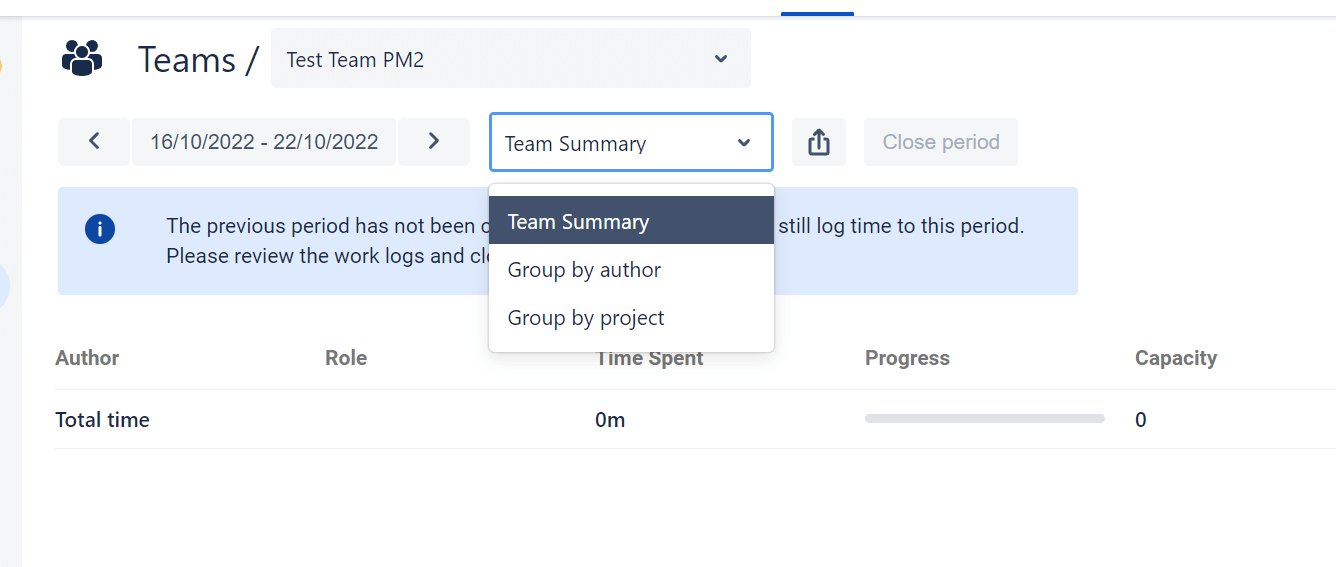
4. Once the team is created, you can individualize the overview thanks to various filter functions.
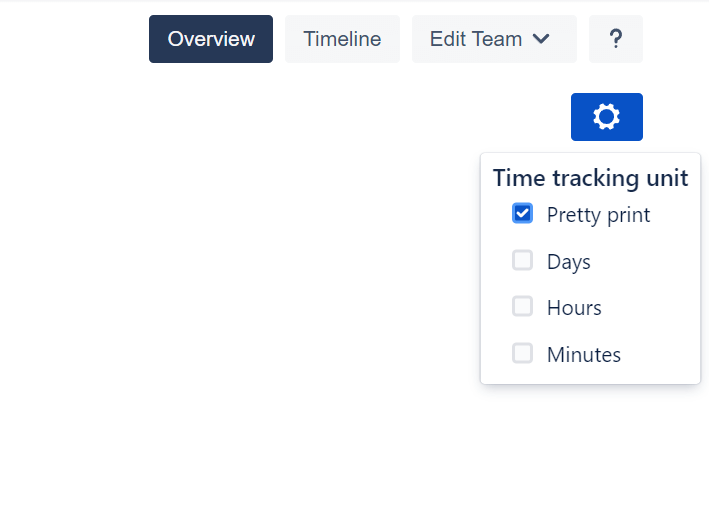
The unit of time tracking can also be customized to your liking:
5. Wechseln Sie von der Übersicht zur Timeline-Ansicht. Hier haben Sie zahlreiche Möglichkeiten, den Zeitraum für Ihre Anzeige zu erweitern. Bye bye, Zeiten, in denen nur ein Sprint zur Analyse vorlag! Dank diverser Filter finden Sie die perfekte Einstellung, die Ihnen genau das anzeigt, was Sie benötigen, um ein vorausschauendes Jira Team Management zu betreiben.
Edit Jira Teams individually
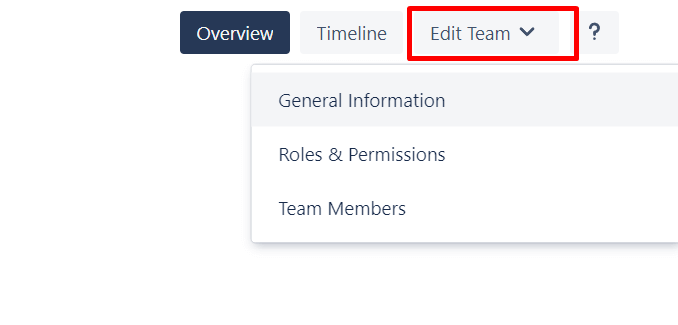
6. Next to the timeline, you will see the Edit Team button. From here, you can choose between three options:
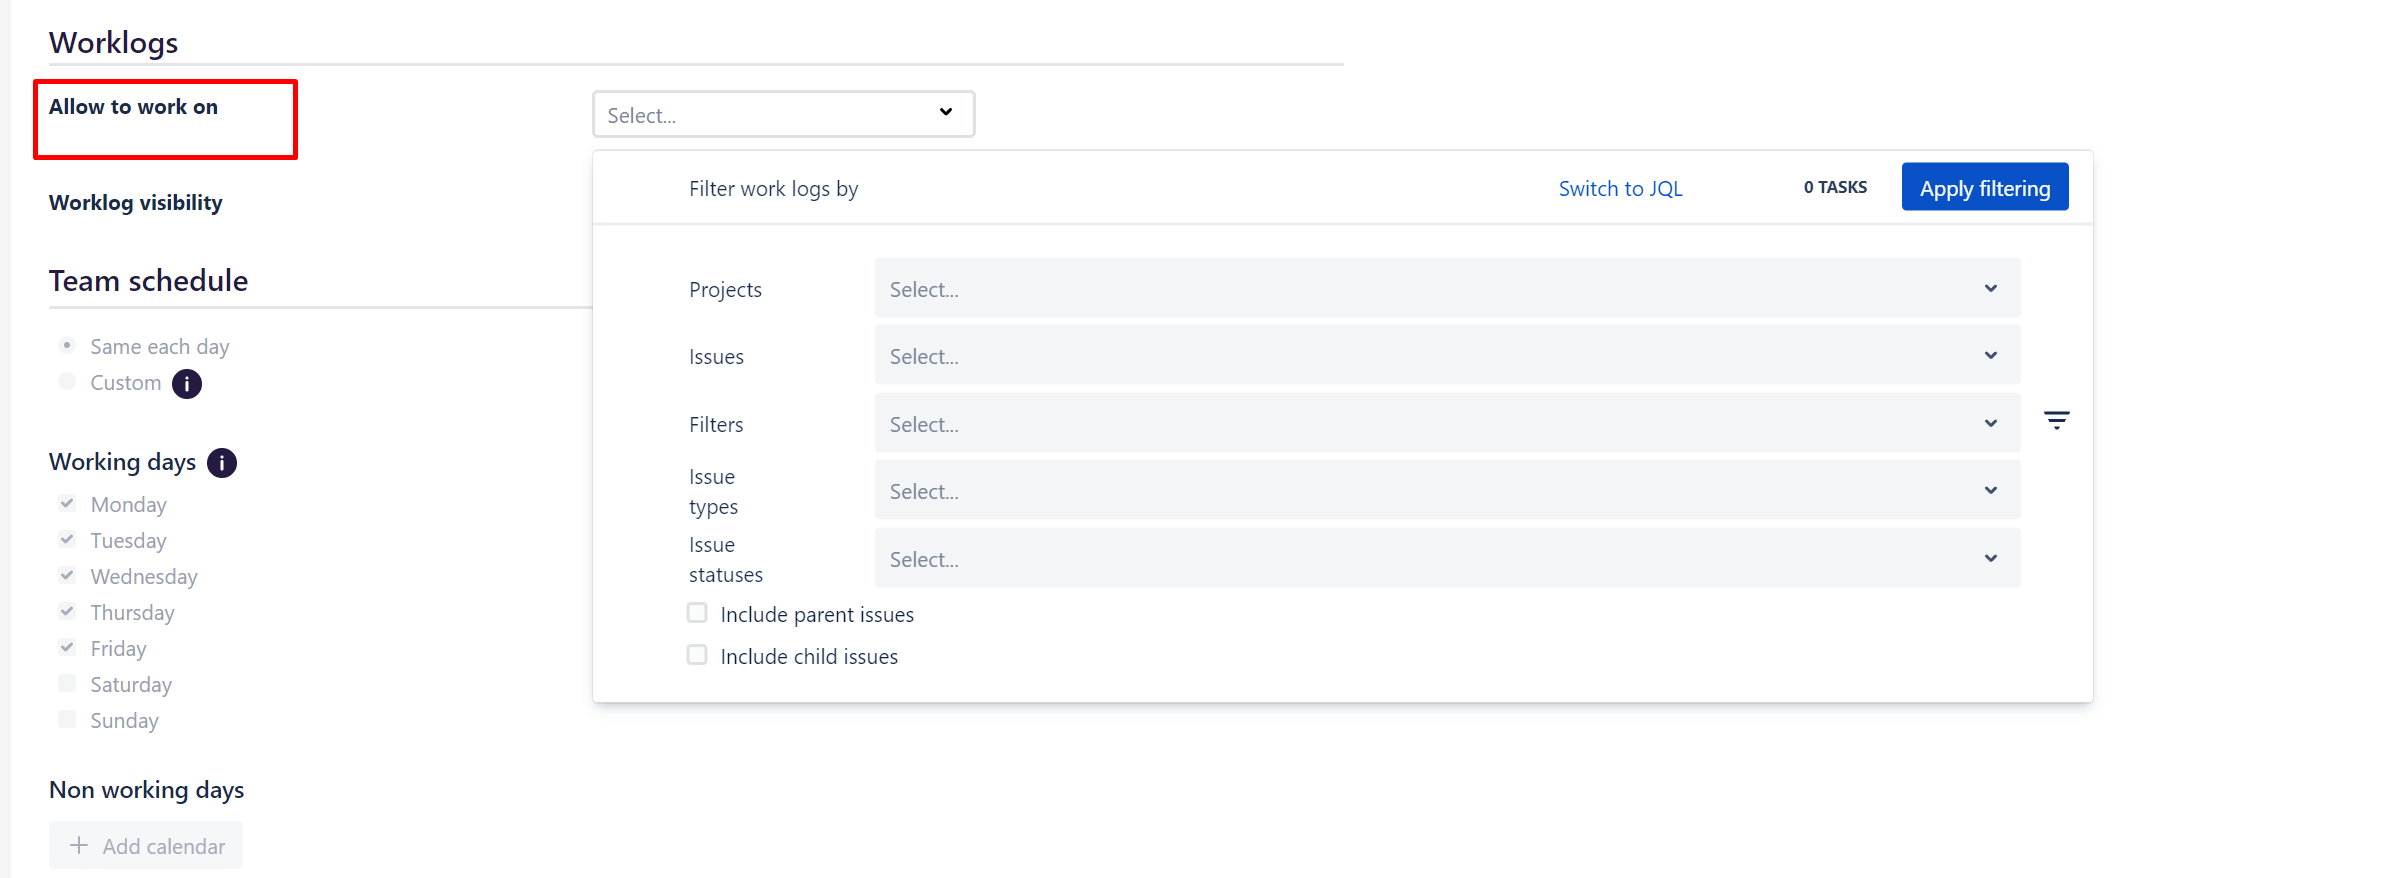
In General Information, you can once again edit the general team settings. Furthermore, in the Worklogs space, it is possible for you to restrict which projects, issues, and issue types your team members can edit:
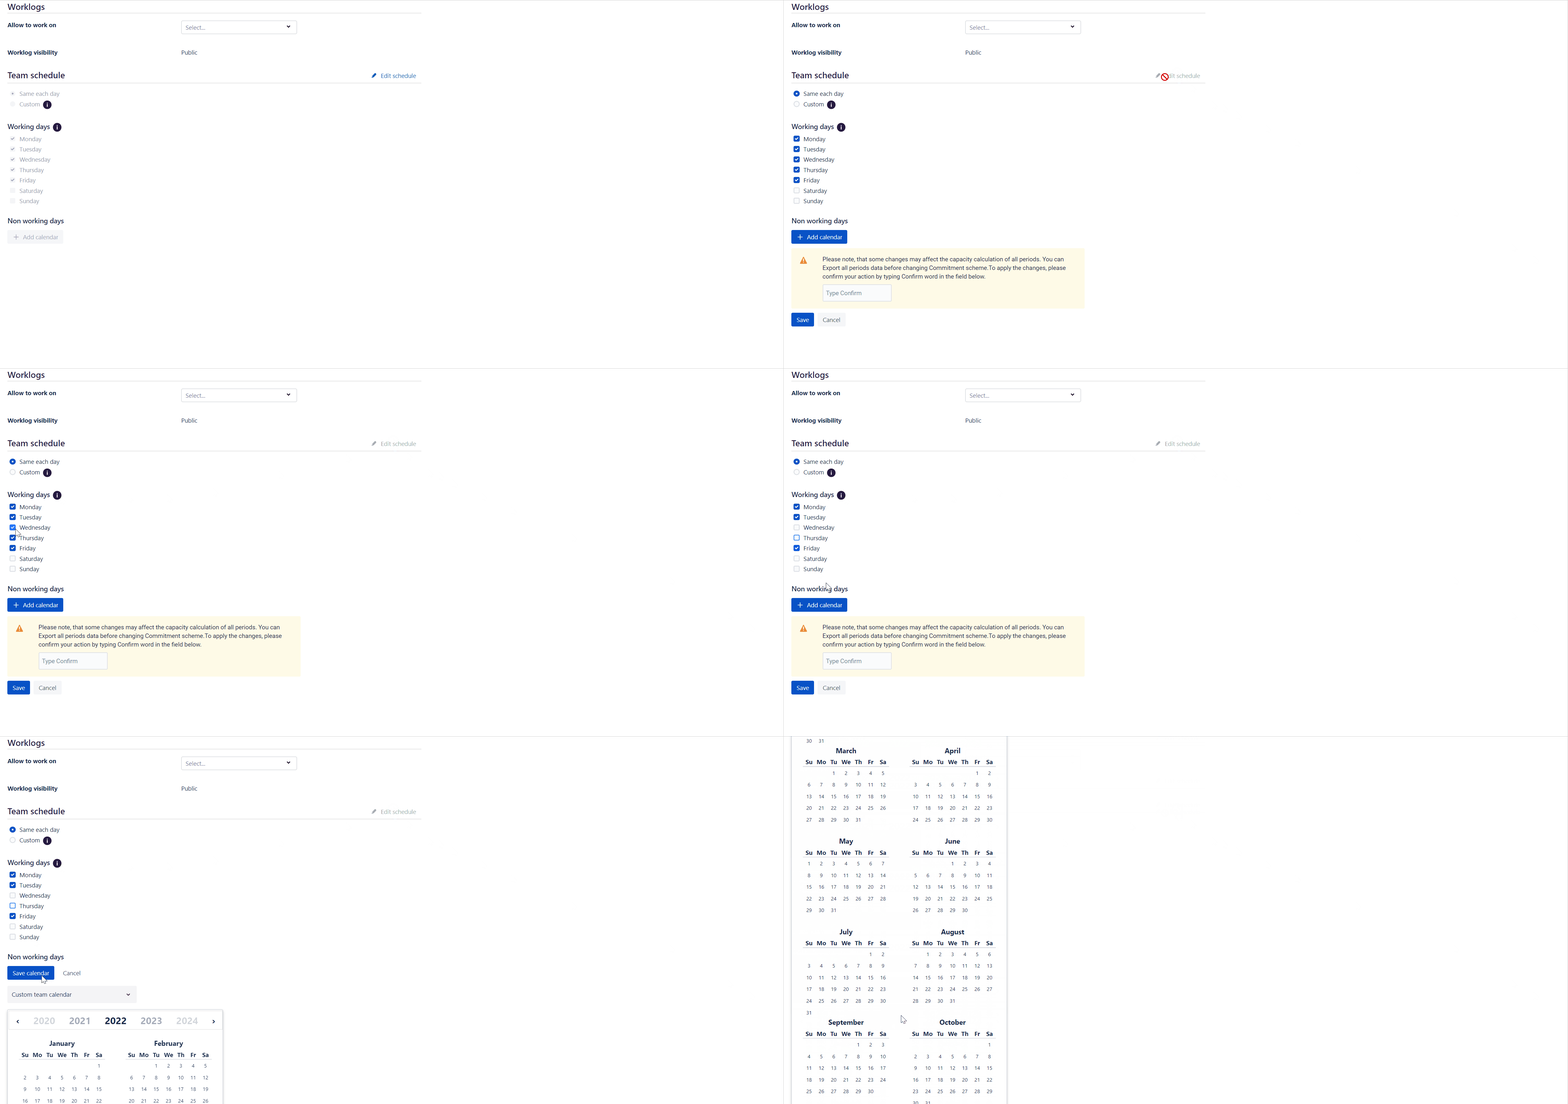
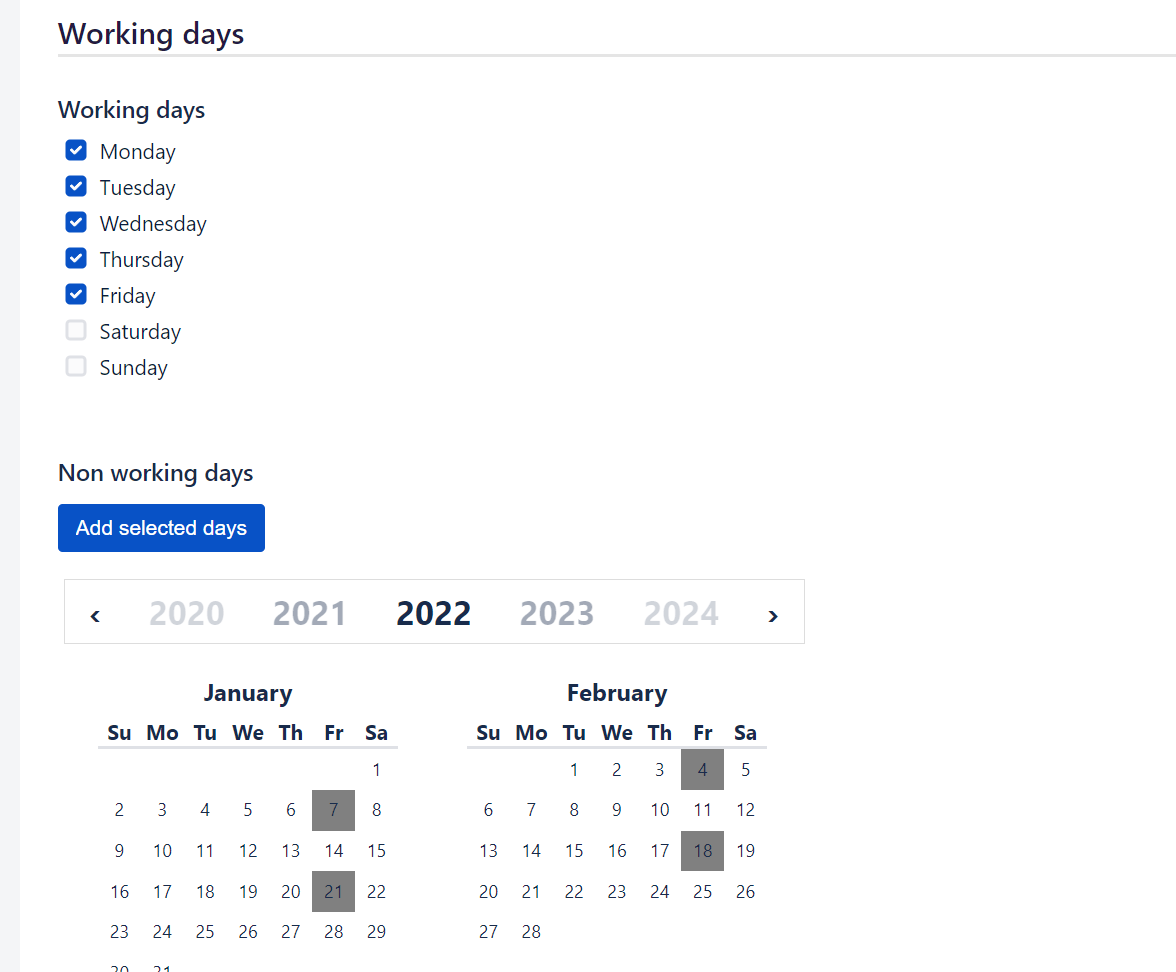
7. If you scroll down further, you can define working days and non-working days. Working days are the regular days your team operates every week, usually from Monday to Friday.
Non working days define special holidays or vacation times for your team. For example, you could also determine that your team has every second Friday off.
All changes you make apply to the entire team. If team members have different days off, they can edit them independently in the My Timesheets space.
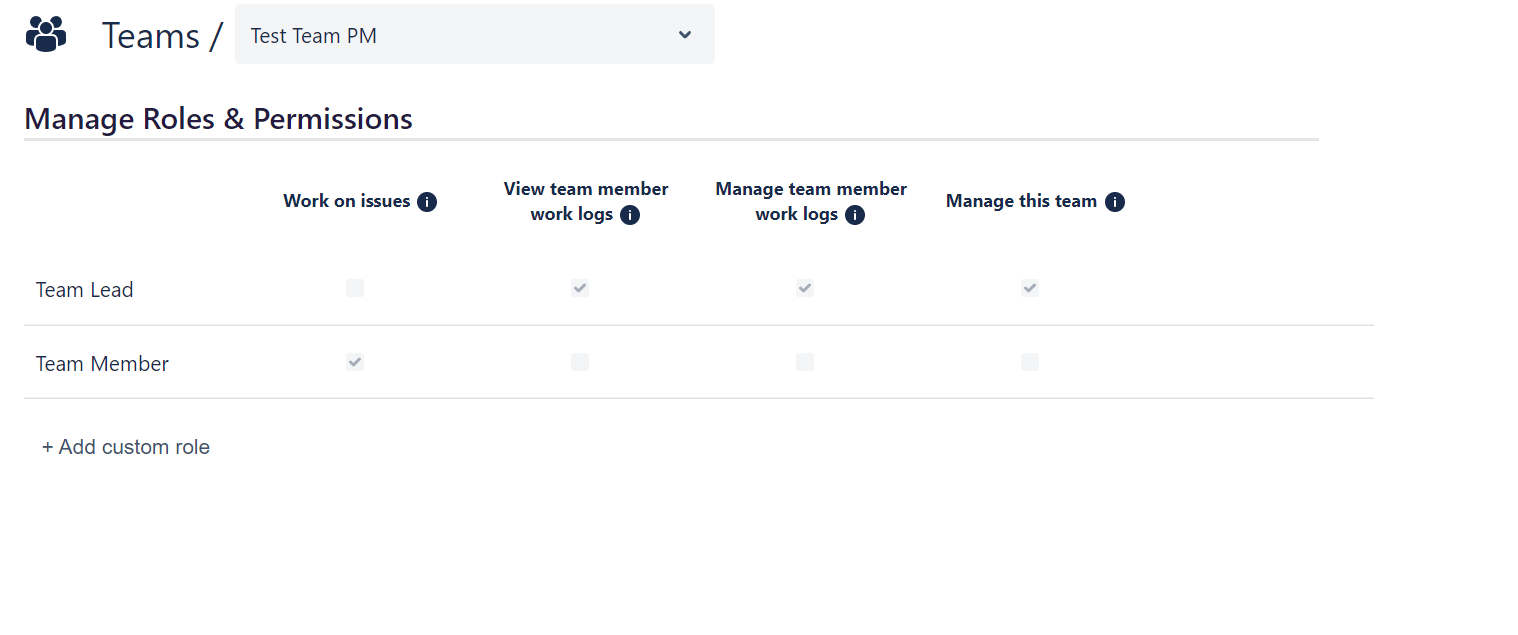
8. Assigning roles and permissions has never been so easy. By default, only the team lead has the permission to work on issues and view and manage work logs. Team members only have permission to edit issues.
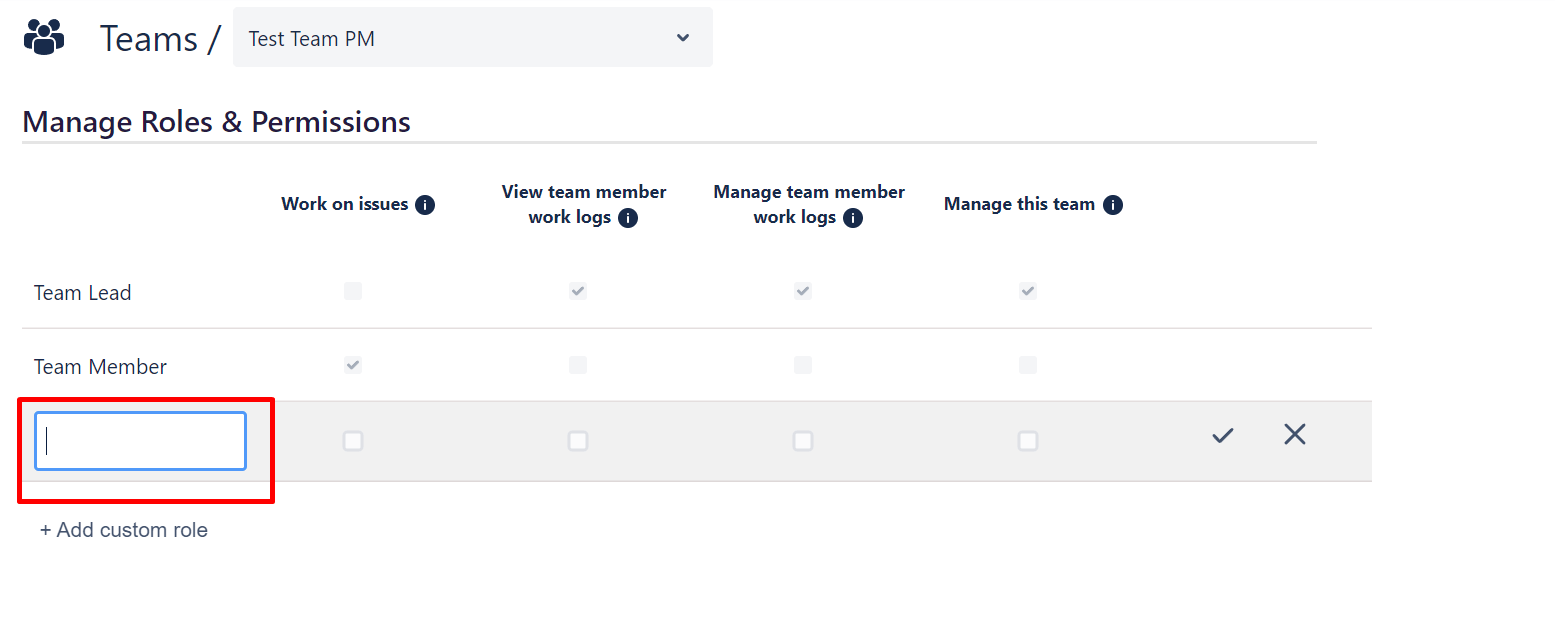
Of course, you can flexibly edit these permissions and also add custom roles.
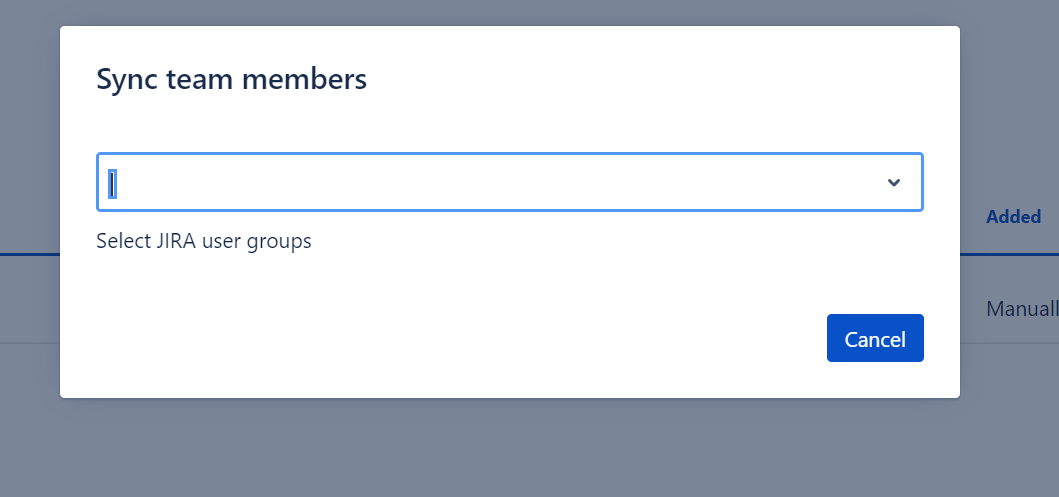
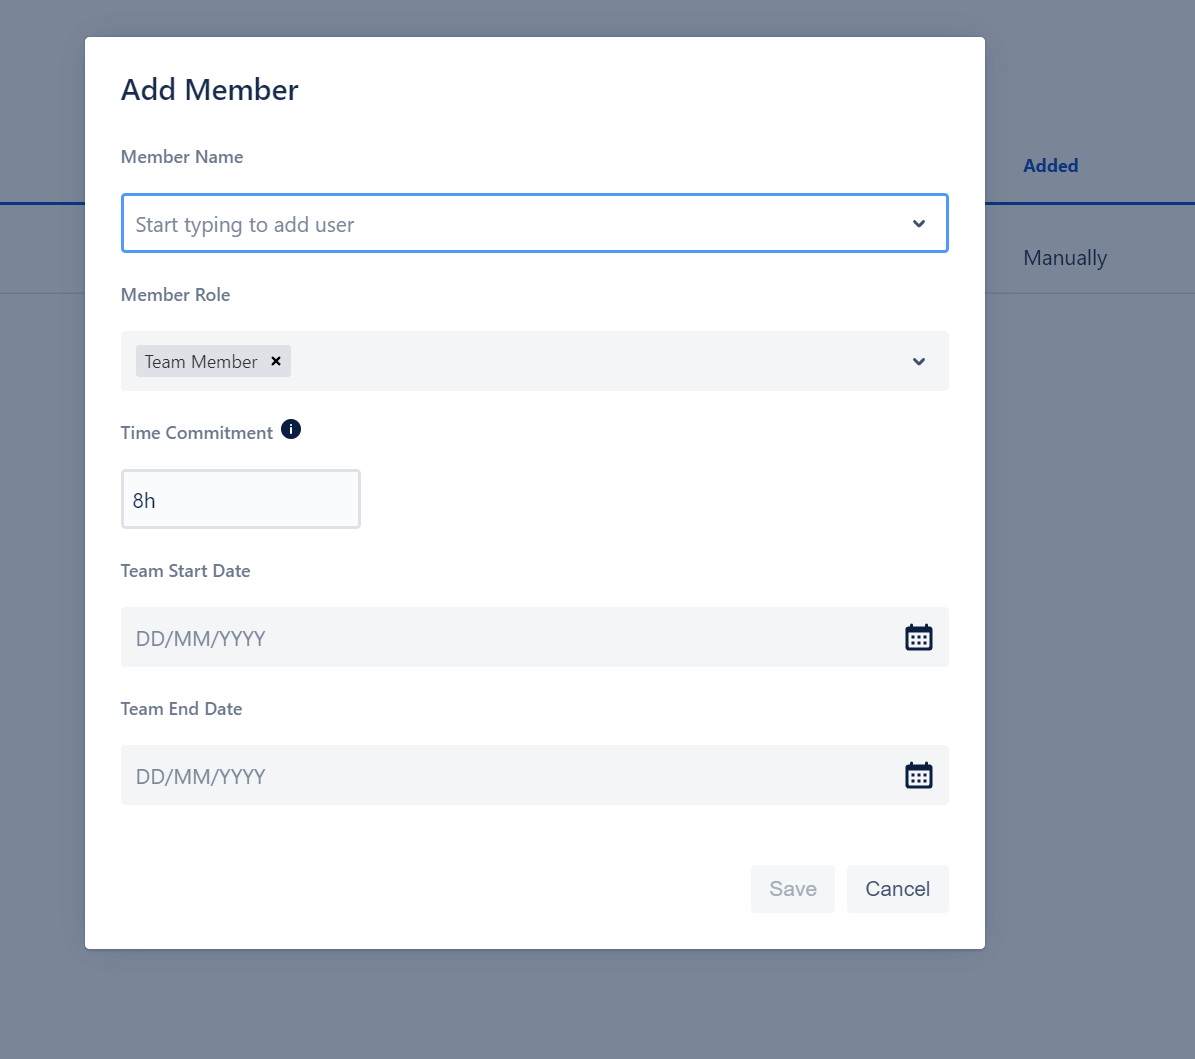
9. In the overview of your team you can see the individual members, their role and with how many hours they are assigned to a project. You can also see when the user joined or left the team.
There are a few options available to you at this point:
Successfully manage teams in Jira
If you are responsible for large or multiple teams that may also have very different working hours and availability, Timesheet Builder is the perfect team management tool that will revolutionize your Jira experience.
Bulk operations save valuable work time and prevent human error. The customizable calendar provides ideal transparency of your Jira team’s working hours. Custom roles give you total flexibility in your team and resource management.
Get started right away and test our tool for free!

