Time tracking in Jira
Jira Software offers an already integrated solution for time tracking, but with all the convenience, the time tracking method quickly reaches its limits
-
The working time has to be calculated manually by yourself
-
For the overview of own tasks and projects, a report has to be created in a cumbersome way
-
There is no calendar overview
To help you overcome these discrepancies in Jira, we recommend the application: Timesheet Builder.
“My Timesheets” from Timesheet Builder
In addition to comprehensive team management, Timesheet Builder consists of the module: “My Timesheets”. Here Jira users can individually track their working time, create personal timesheets for self-optimization and display them in various ways. This gives you the perfect, fact-based foundation for future estimates and resource planning, and you no longer have to leave anything to chance.
The advantages of the module at a glance:
-
Individual tracking of working time with one click
-
Easy follow-up of time spent on Jira tickets
-
Customize data with the help of many filters
-
Quickly check the total number of hours
-
Your own performance at a glance
To visualize the best methods for time tracking, let’s first explain how the module is built.
Jira time tracking with Timesheet Builder: The “My Timesheets” module
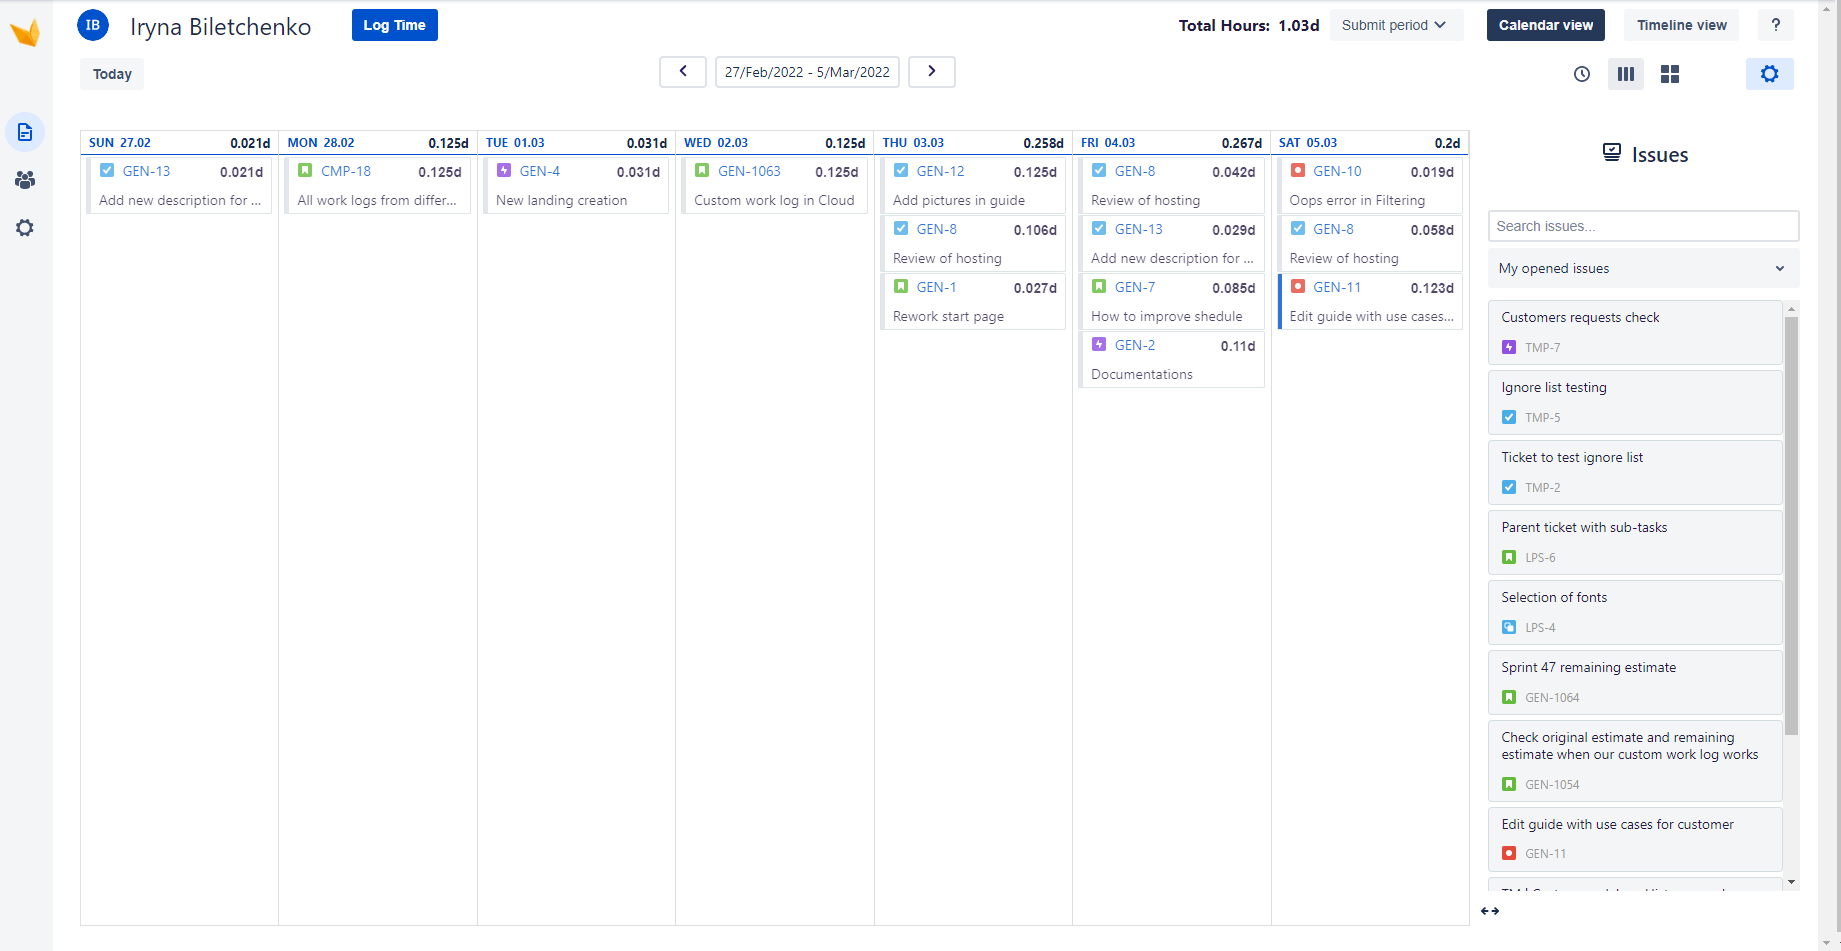
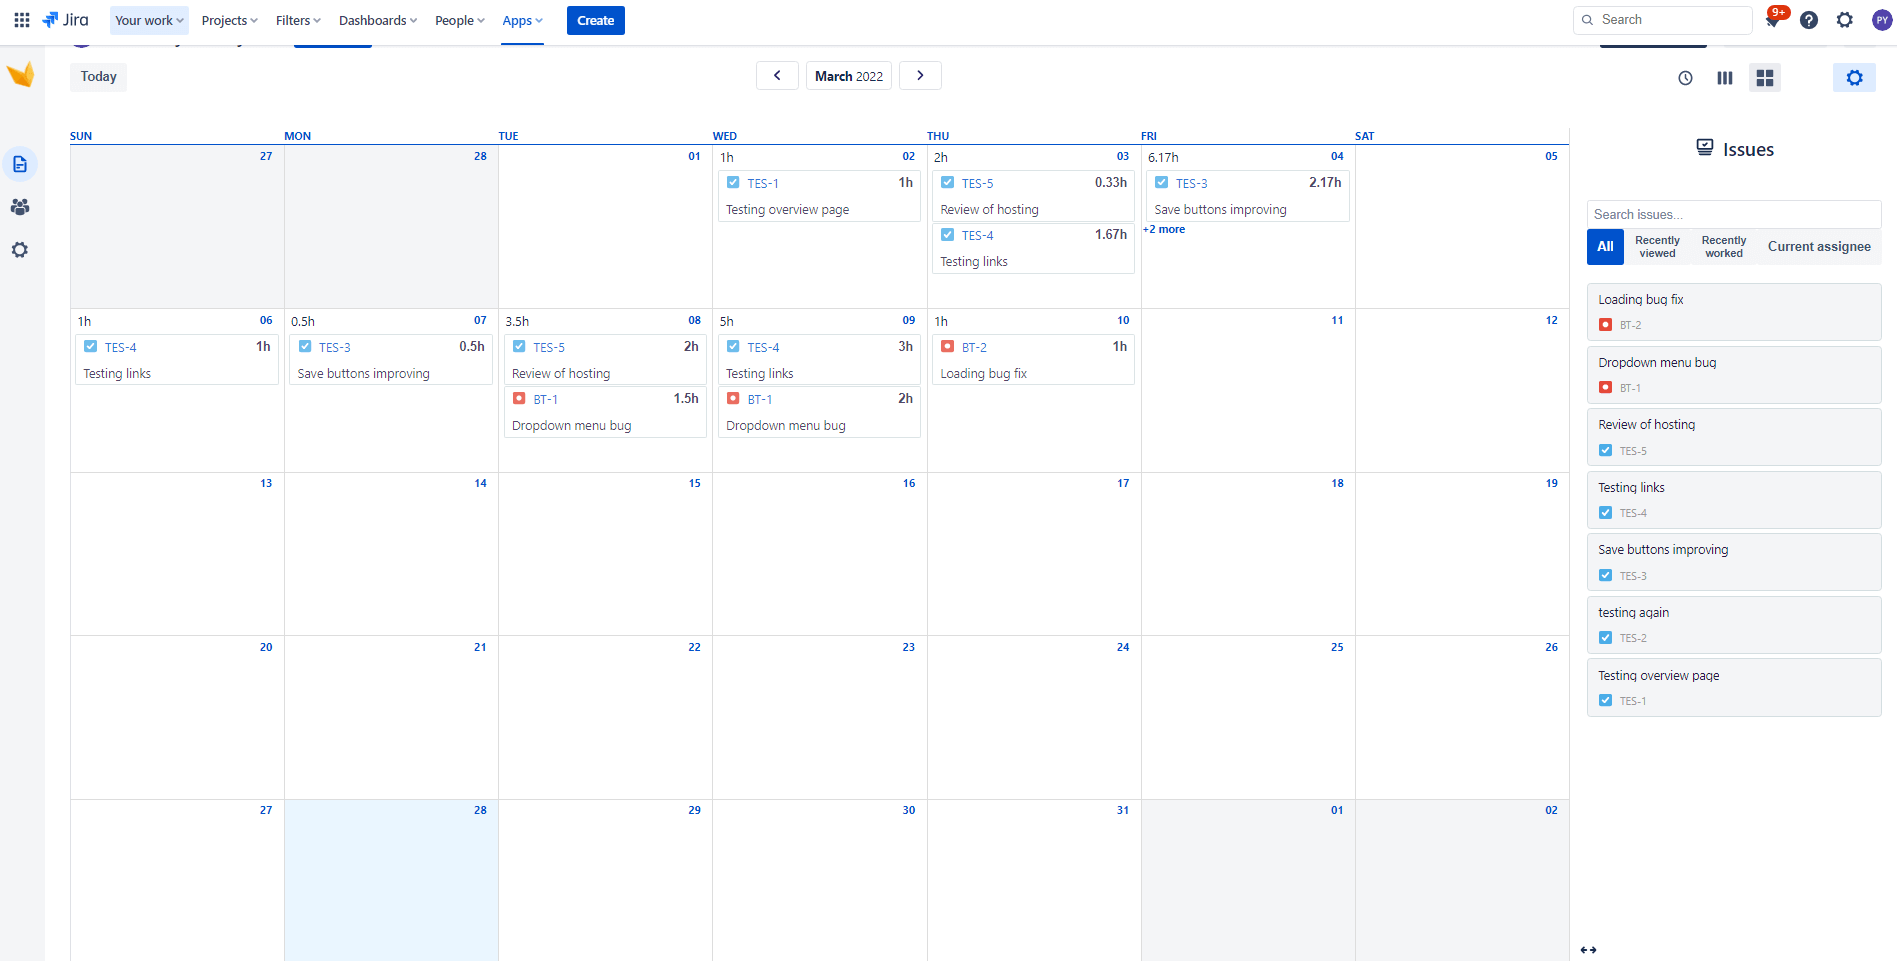
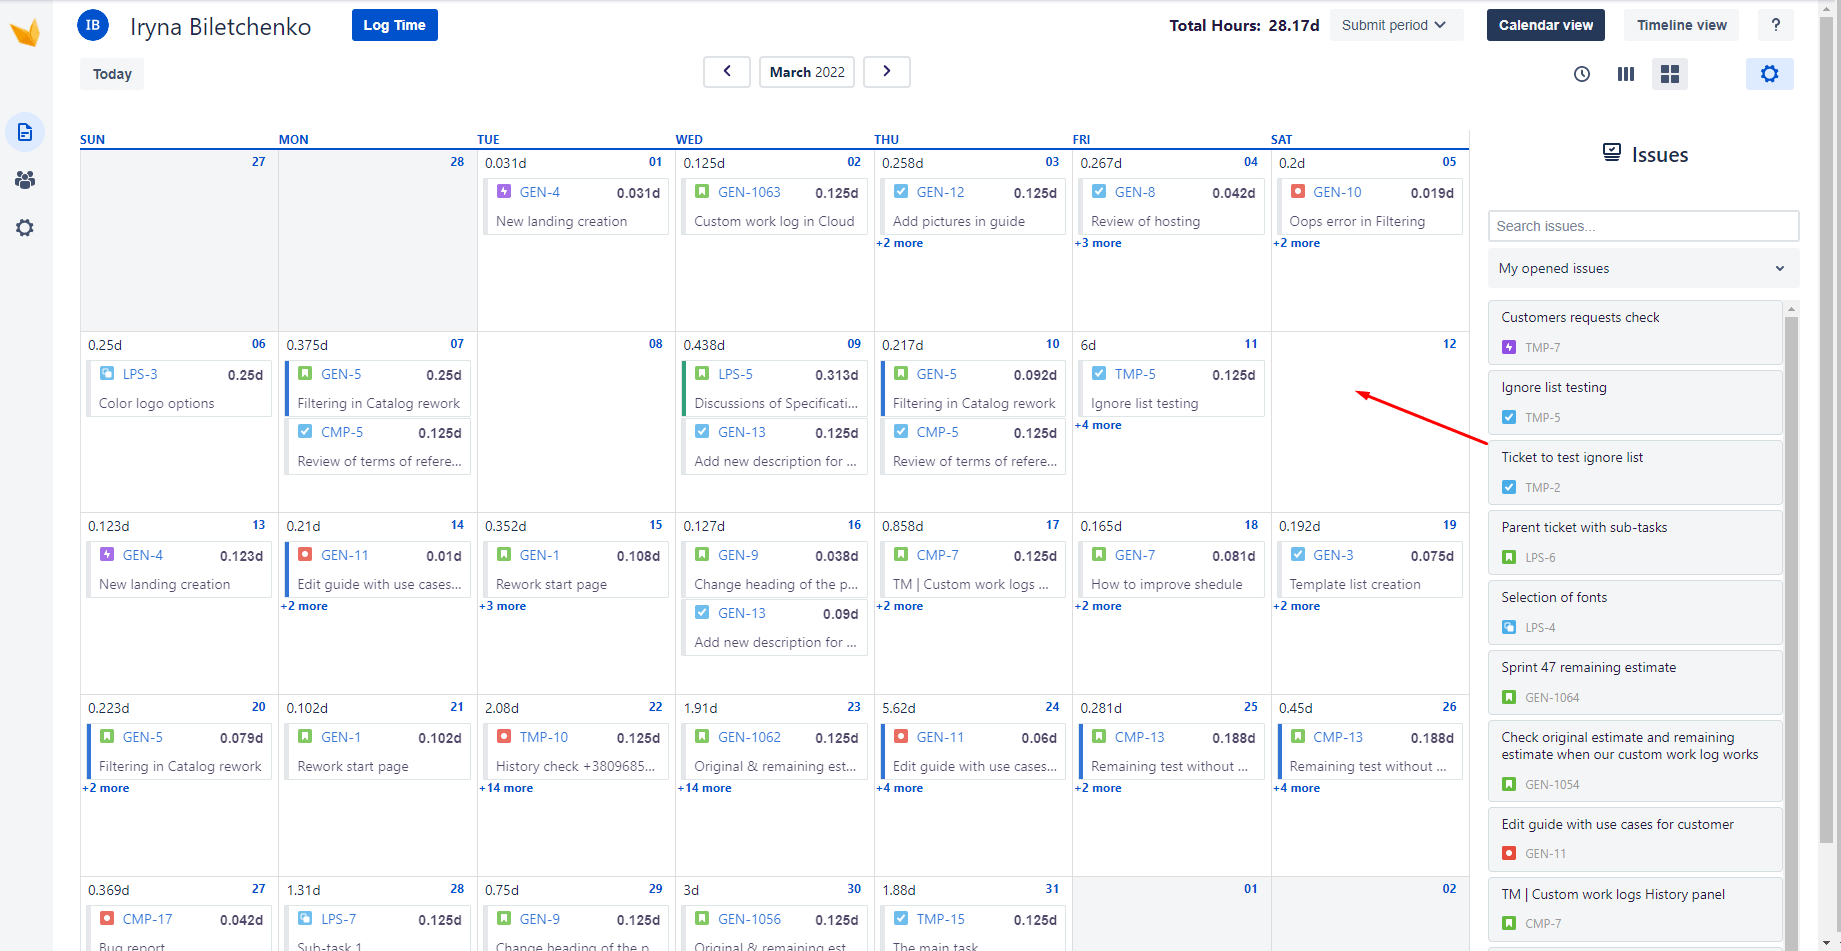
The “My Timesheets” section is the heart of Timesheet Builder, as this is where the tracked working time is displayed in a clear calendar view. This doesn’t exist in Jira without an add-on, but it allows you to have a transparent overview of a specific time period.
And exactly the way you want it.
Calendar view by week
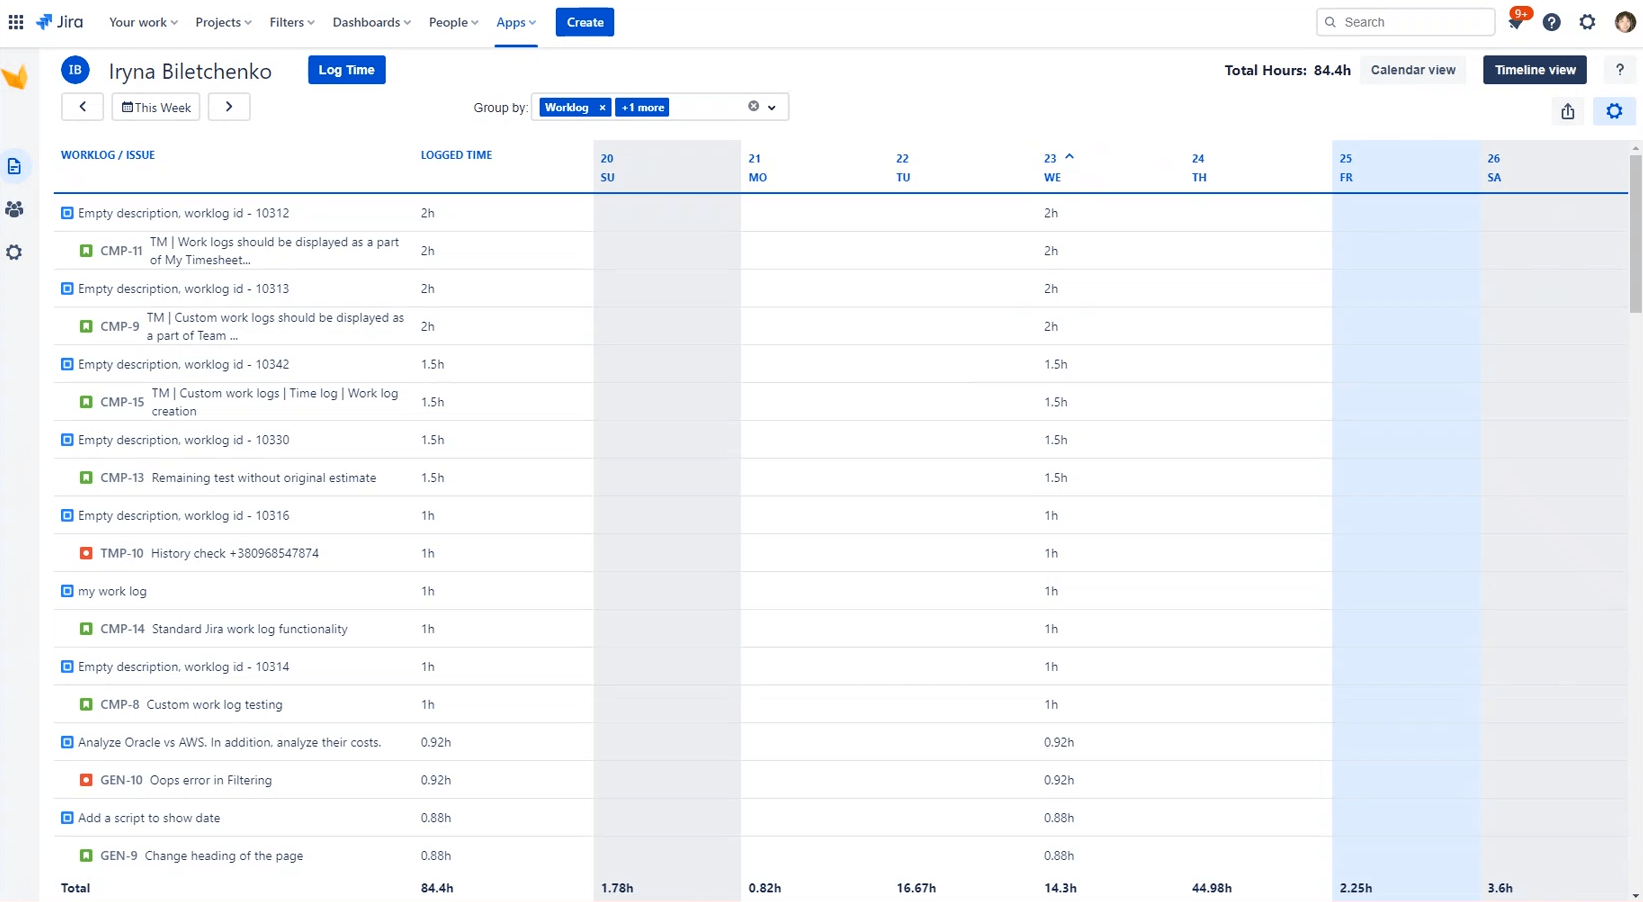
Or do you prefer the timeline view?
Track working time in Jira: the best practices
However, in order to display results at all, it is first necessary to track your working hours. You have the following options to do this:
Variant 1: Time tracking with the timer function
Time tracking has never been faster and more intuitive: with a simple push of a button, you can automatically record your working time. When you are done with the task, the time is automatically calculated and the work log is created.
Here’s how to do it:
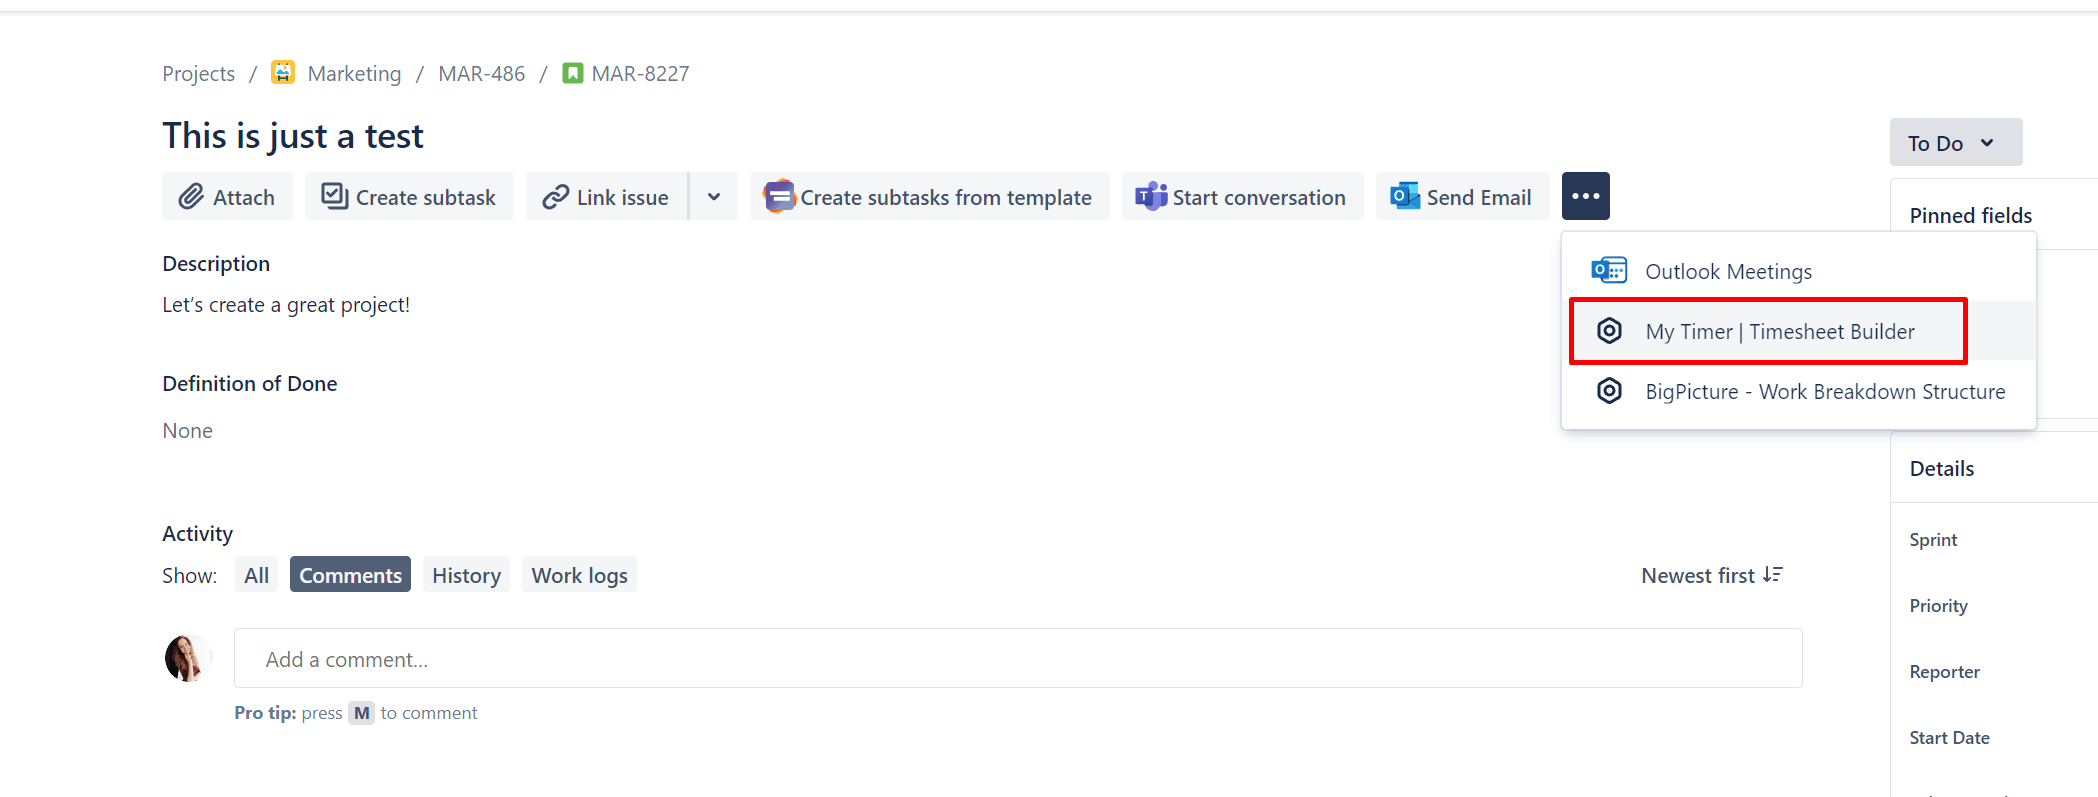
Step 1: Open a Jira ticket, navigate to the three dots that show the options, click the button and select the option: “My Timer | Timesheet Builder”.
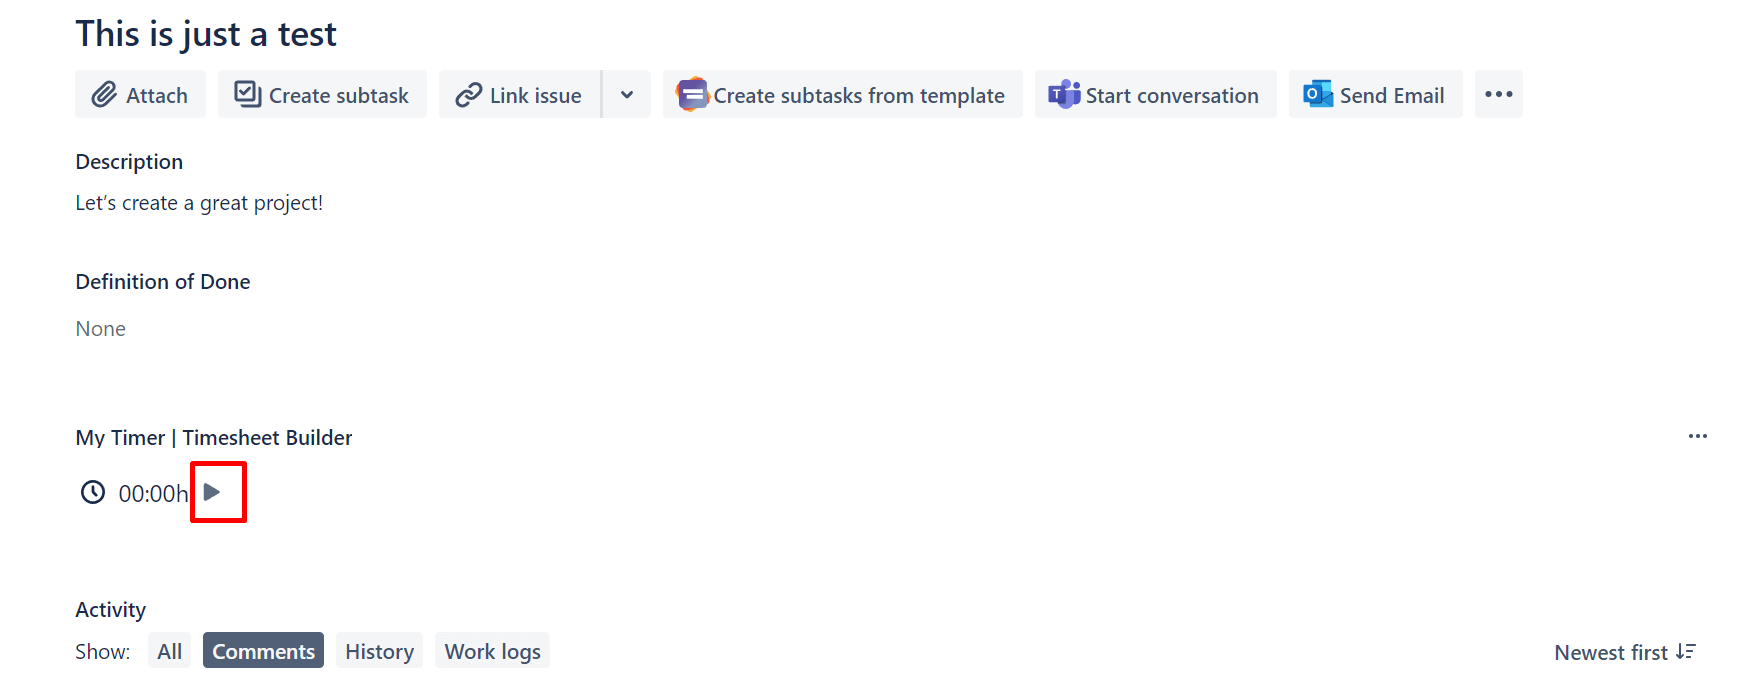
Once you have selected the timer, it will always be automatically displayed on all your Jira tickets in the future.
Step 2: To start counting your working time, simply click the play button here and Jira will automatically count the minutes you have spent on this task.
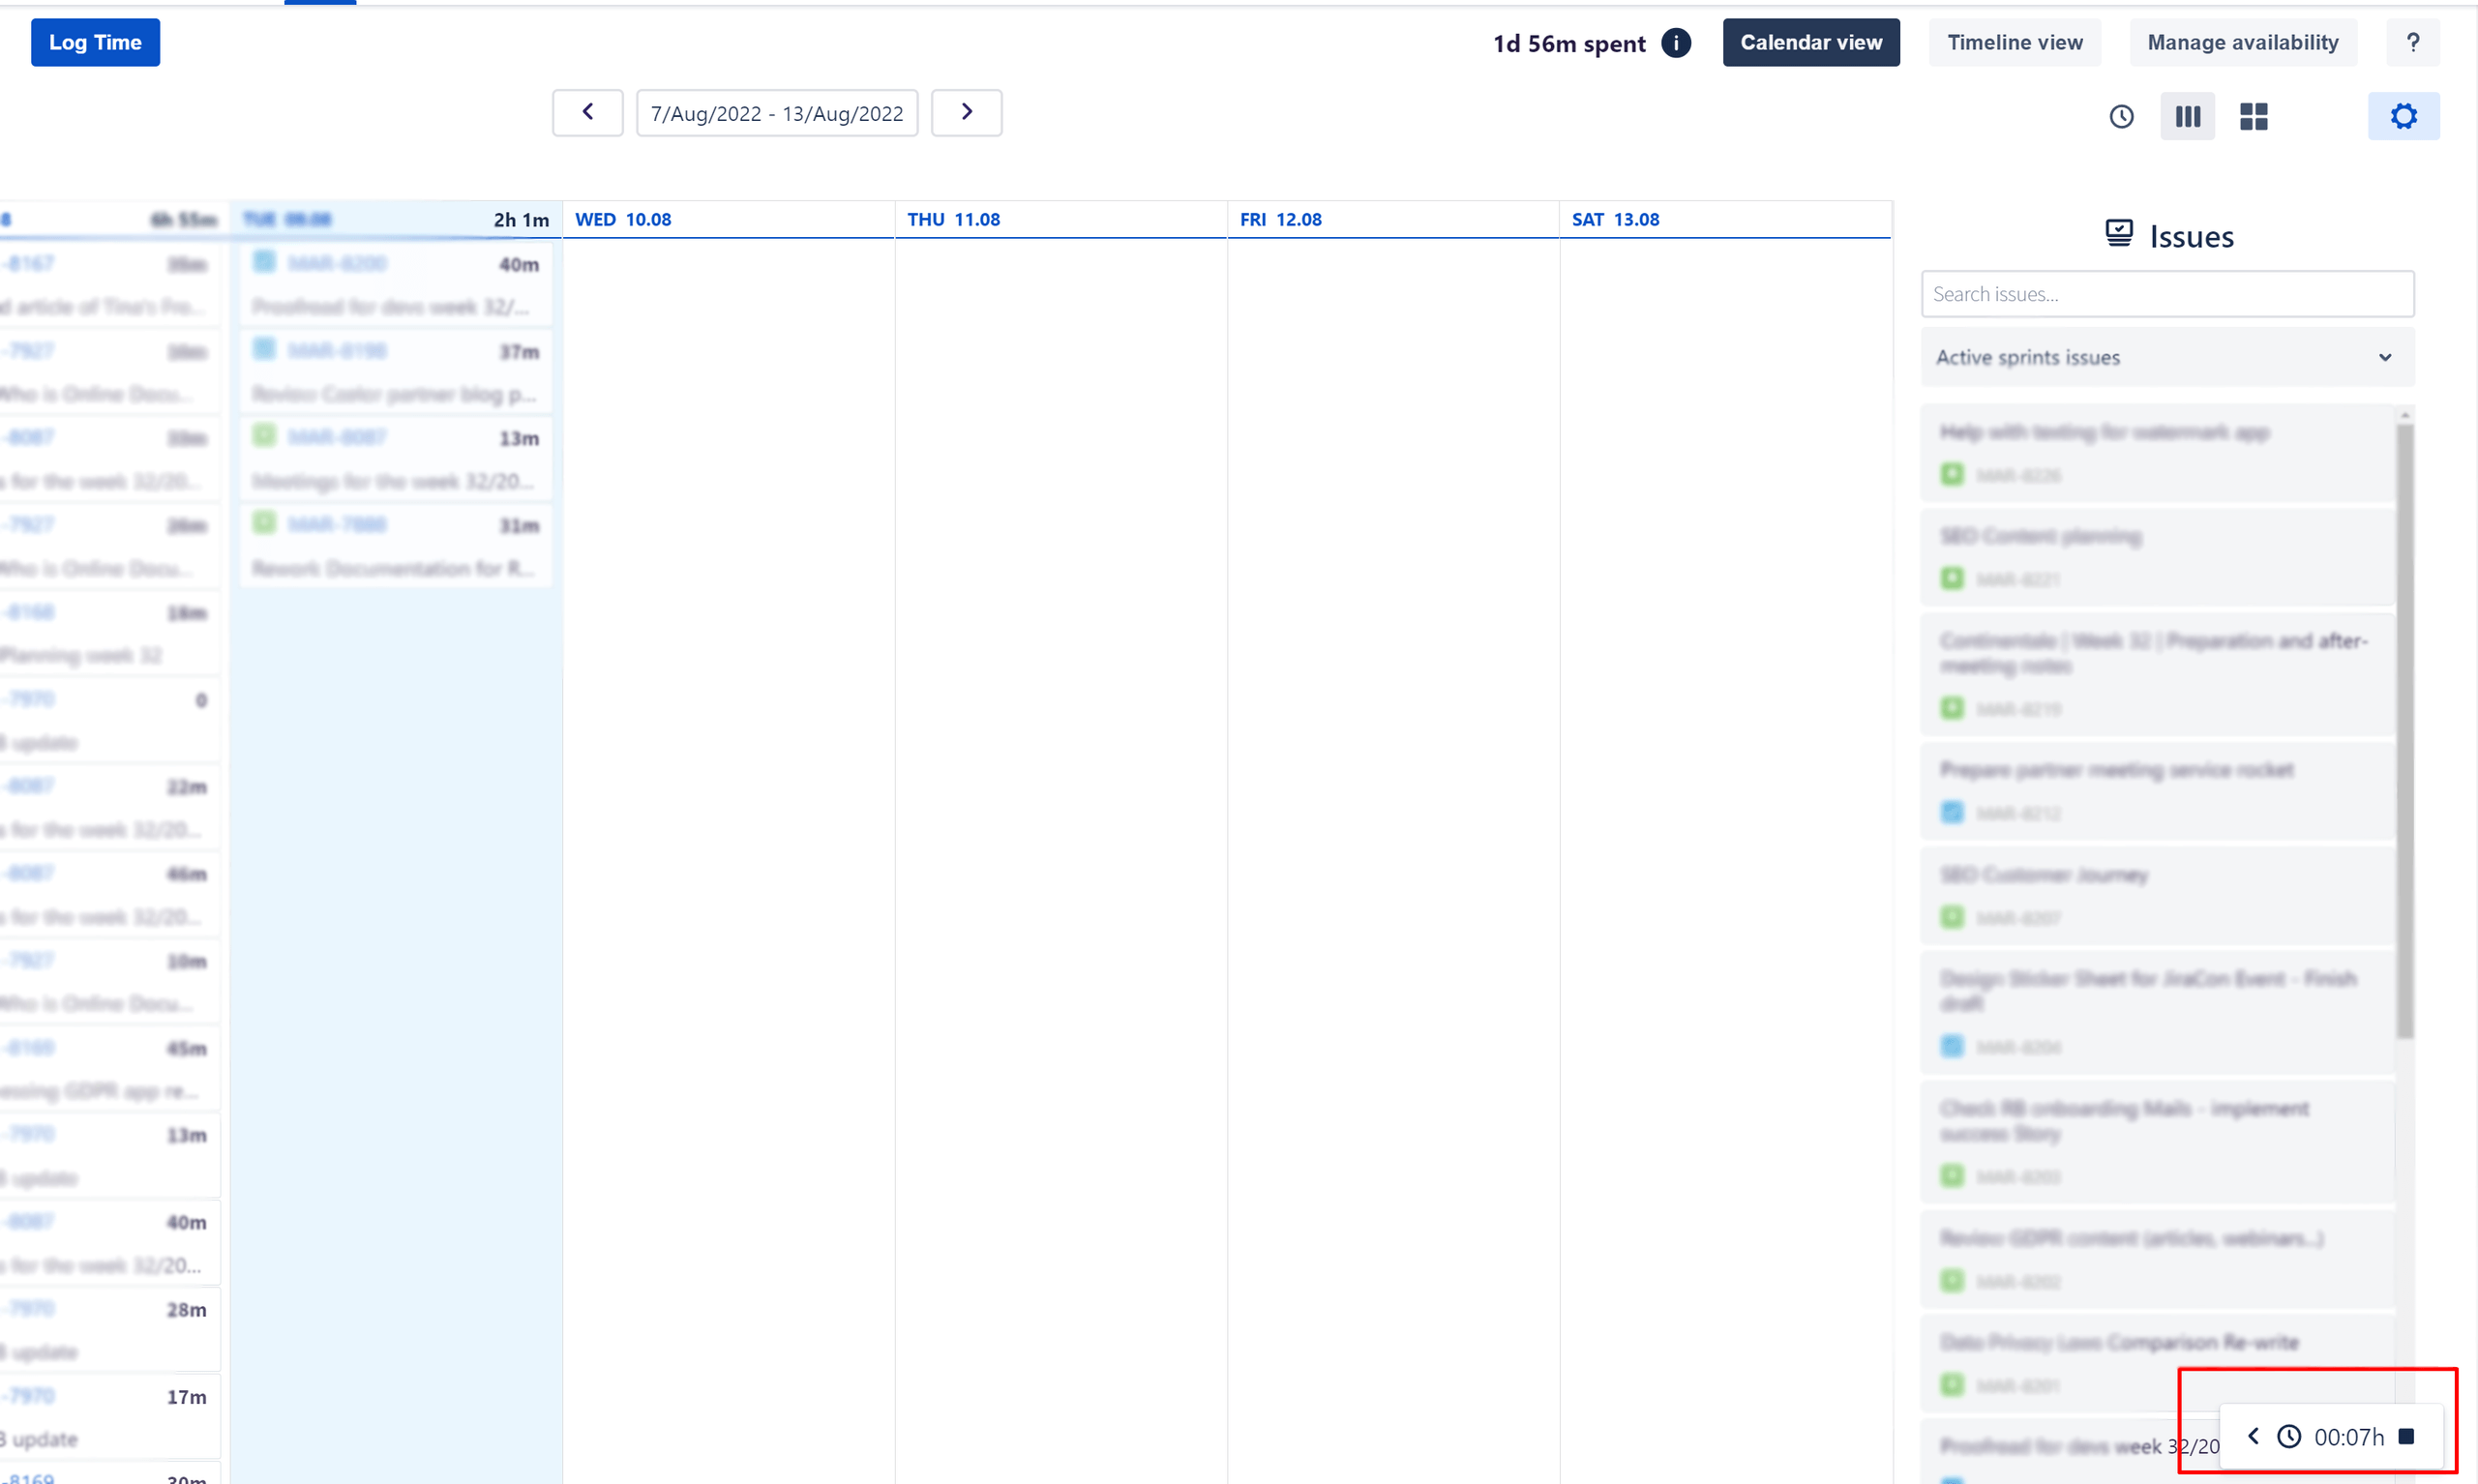
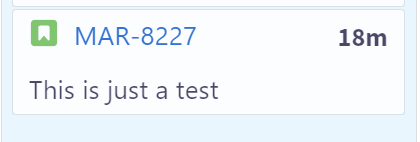
Step 3: While you are working on the task and taking a look at “My Timesheets”, you can also see the current timer.
Note: Only one timer can be active at a time. This will help you focus on one task and work efficiently.
Step 4: By clicking on the arrow in the Timesheet section,
you can see the further details with the link to the ticket for which the timer is active.
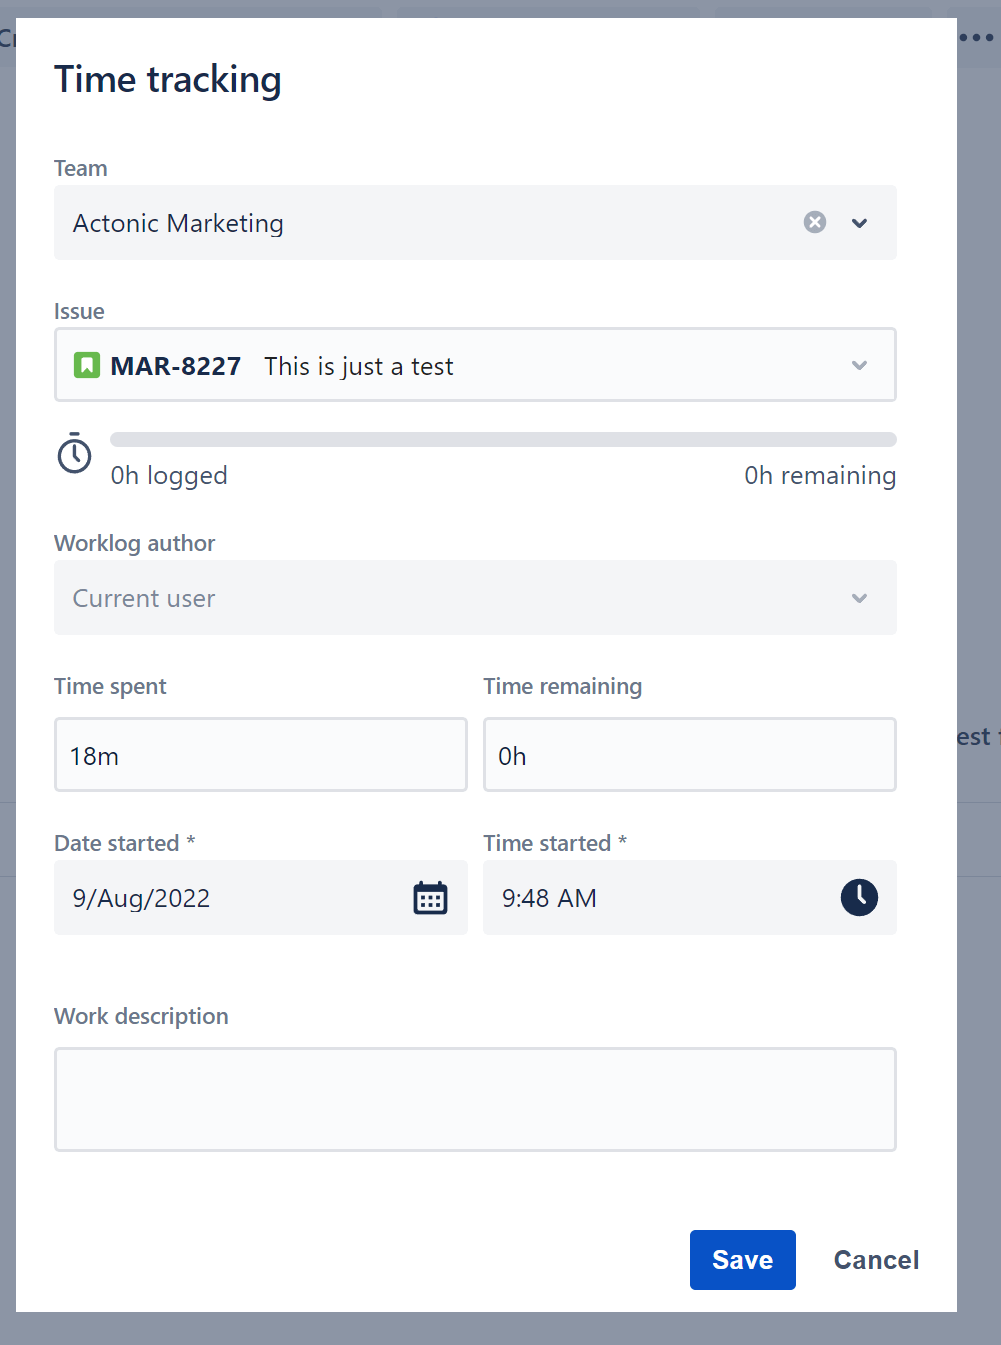
Step 5: When you are done with your task, you can click on the stop button in the timesheets or directly in the Jira issue. After that, this pop-up will appear:
The time is already counted, but of course, you can edit the work log to your liking, adjust the time and add some comments and work descriptions.
Step 6: Click Save and the work log will be created and added to “My Timesheets”:
Variant 2: Time tracking from within My Timesheets
Are you currently in your timesheets and realize you forgot to log a task? No problem, we’ll fix that quickly.
Here’s how:
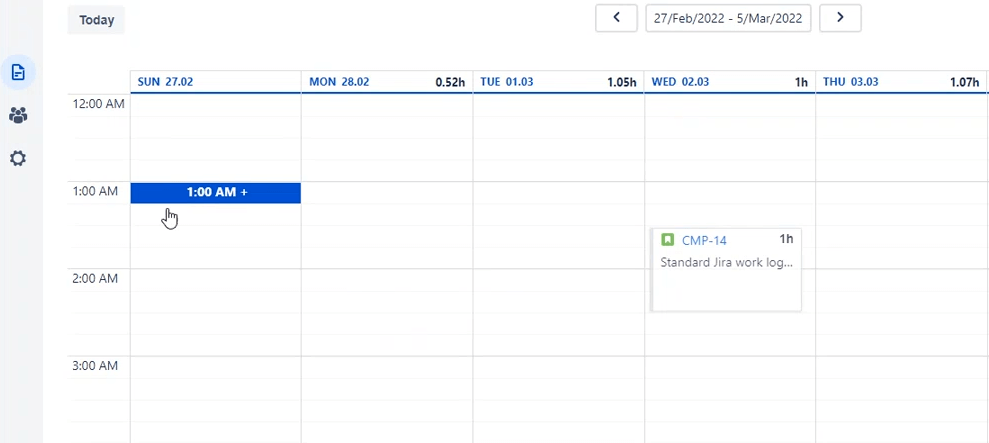
Step 1: Hover over the current day and time you want to insert a task. Once you hover over the field, a blue button with a white plus in it will appear. Click on the area.
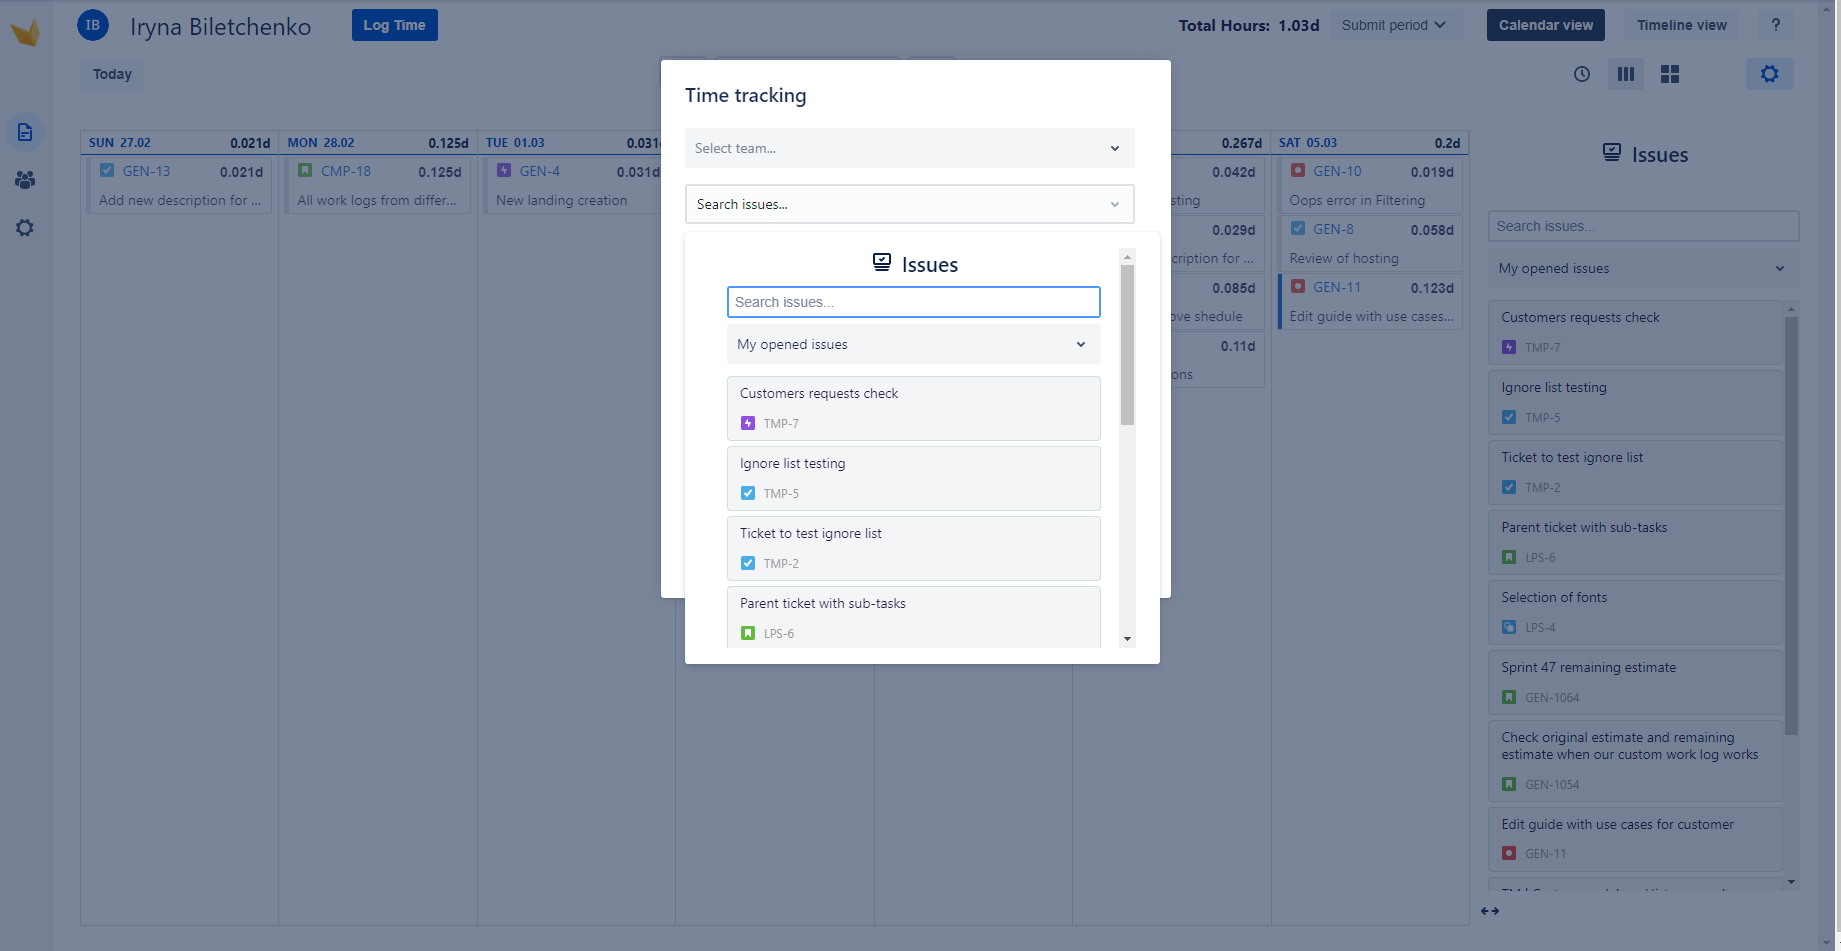
Step 2: A pop-up called “Time tracking” will appear immediately.
Here, first select the team to which the task relates in the drop-down menu of the “Select Team” field. Next, click on the “Search Issues” field and locate the ticket for which you want to record time. Navigate through the tabs and filter issues by recently viewed, recently edited, or tickets assigned to you.
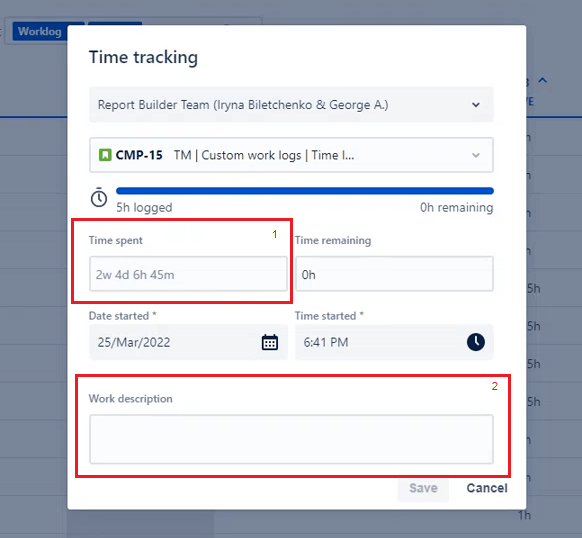
After clicking on a Jira ticket, you can add the time spent (step 1) and activity description (step 2).
Extra tip: Be more detailed in your description. This will not only help your colleagues, but also yourself. For example, do you know what was discussed three months ago on that one evening at 7 pm – when the description was just “meeting”?
After you have saved your data, the work log appears in your timesheet, and you can open it again with a simple double-click and edit it again.
Variant 3: Time tracking with drag and drop
We all love it, that’s why this method can’t be missing from Timesheet Builder: Drag-and-drop. On the right side of your calendar view, you will see the listing of all created Jira tickets. Now you can easily select a ticket and drag it to the desired space of your timesheet.
As with the other time tracking methods, from this point you can describe the recorded working time in more detail.
Variant 4: Time tracking with one click
No matter what view you are in “My Timesheets”, everywhere in the upper left area of the screen you will see the “Log Time” button. As soon as you click on it, the same editing screen appears as in the screenshots already shown. The default time is when you clicked on the button. So don’t forget to adjust the date and time according to your requirements.
No matter how you track your working time and view your timesheets: All results can, of course, be easily exported to XLS, CSV or PDF.
Best practices for time tracking in Jira
Timesheet Builder’s “My Timesheets” module impresses with its intuitive handling and the multitude of ways to track working time in Jira. Creating individual work logs and configuring them has never been so easy – and privacy-compliant. Timesheet Builder provides the perfect foundation of modern time and resource management, as the application enables you to immensely optimize your workflow, internal processes as well as future estimates.
Now it’s up to you. Which of the four presented time tracking methods suits you best? Why don’t you try Timesheet Builder completely free of charge for 30 days and finally create timesheets to your liking!
