Changing fields for certain issue types
An issue is a core element of Jira and describes an action that has to be taken. There are several default Jira issue types (depending on the application you use). In addition, a system administrator can extend the list of issue types to help you group and categorize similar ones. The following issue types are an example of default issue types that can be used in Jira:
- Task,
- Sub-task,
- Epic,
- Story,
- Bug,
- Technical Story,
- Technical Task.
Each Jira project has issue type schemes that are associated with it. Issue type schemes determine which issue types will be available for a project and in which order these issue types will be displayed in a user’s Jira interface.
Sometimes, you need to remove one of the fields available for a certain issue type, which requires using different screens and screen schemes. How do you do it? Read on to find out.
The Problem
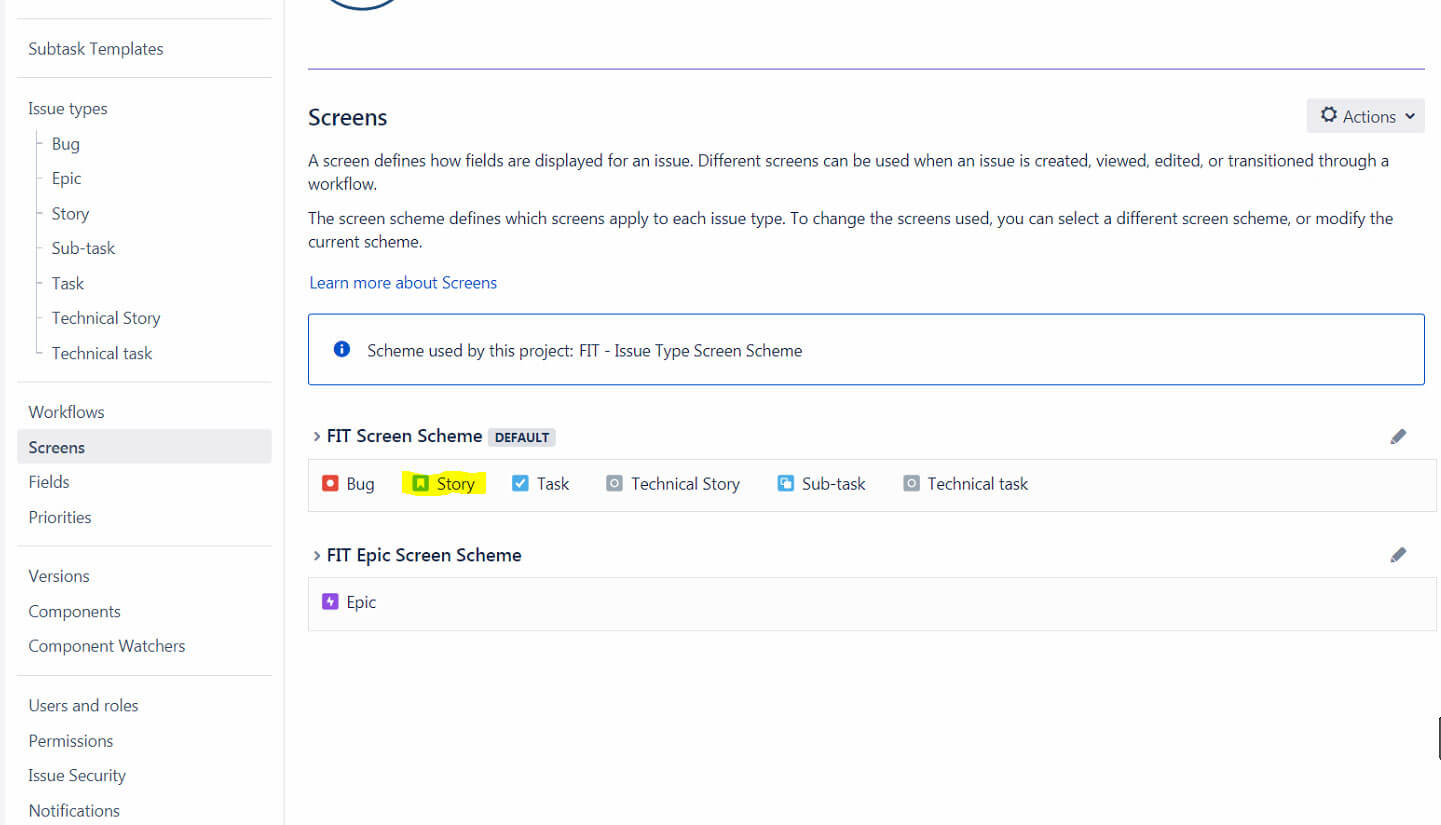
A customer wants a field removed only from the issue type Story. However, issue type Story is in the same screen scheme as the other issue types.
The Solution
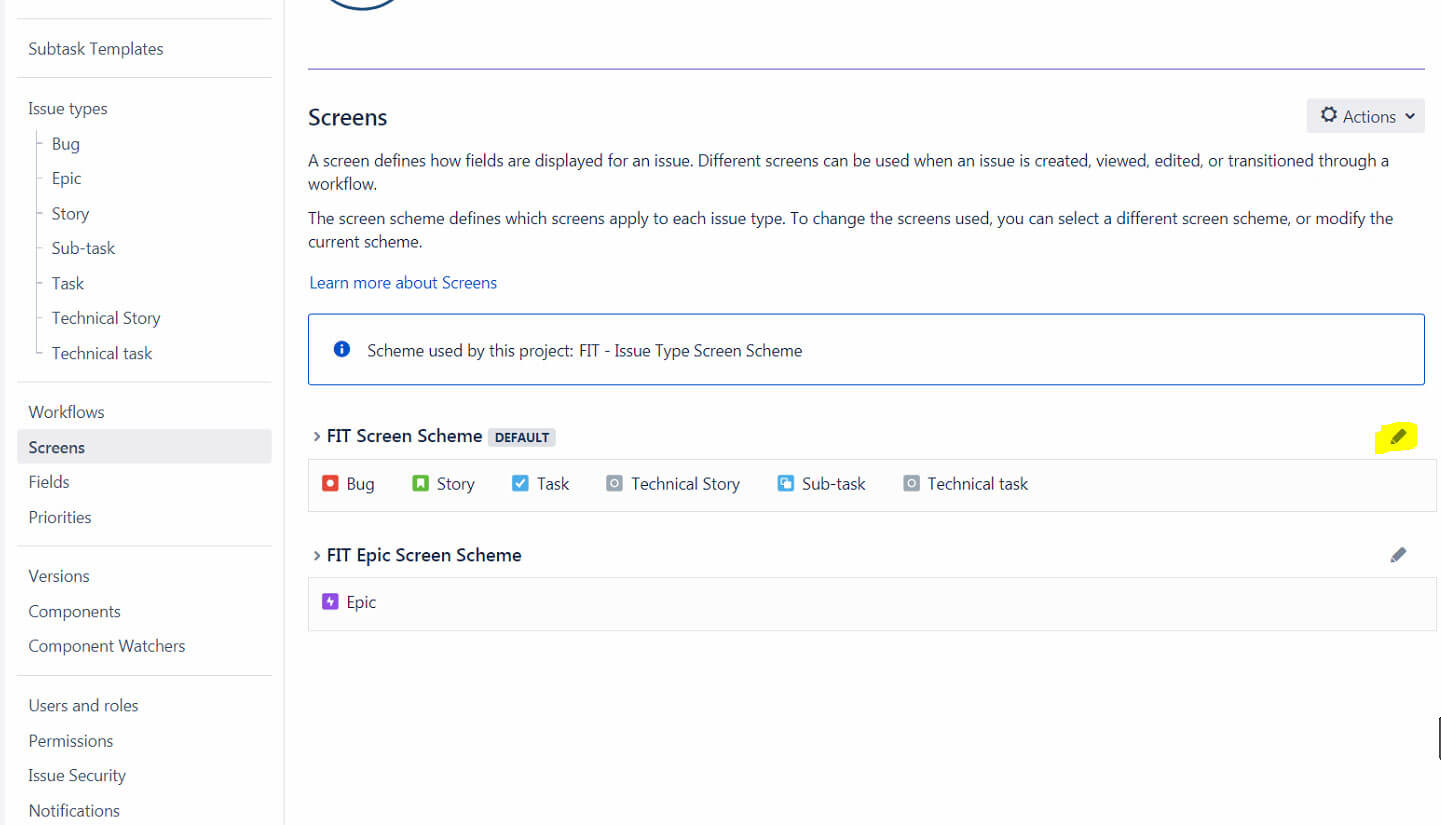
1. Click on the edit icon to view the screen scheme:
2. Remember which screens are associated with the issue type Story.

3. Switch to Screens, search for affected screens and make a copy of the screens associated with the issue type
4. Go to Screen schemes, create a new scheme and assign the copied screens to it.
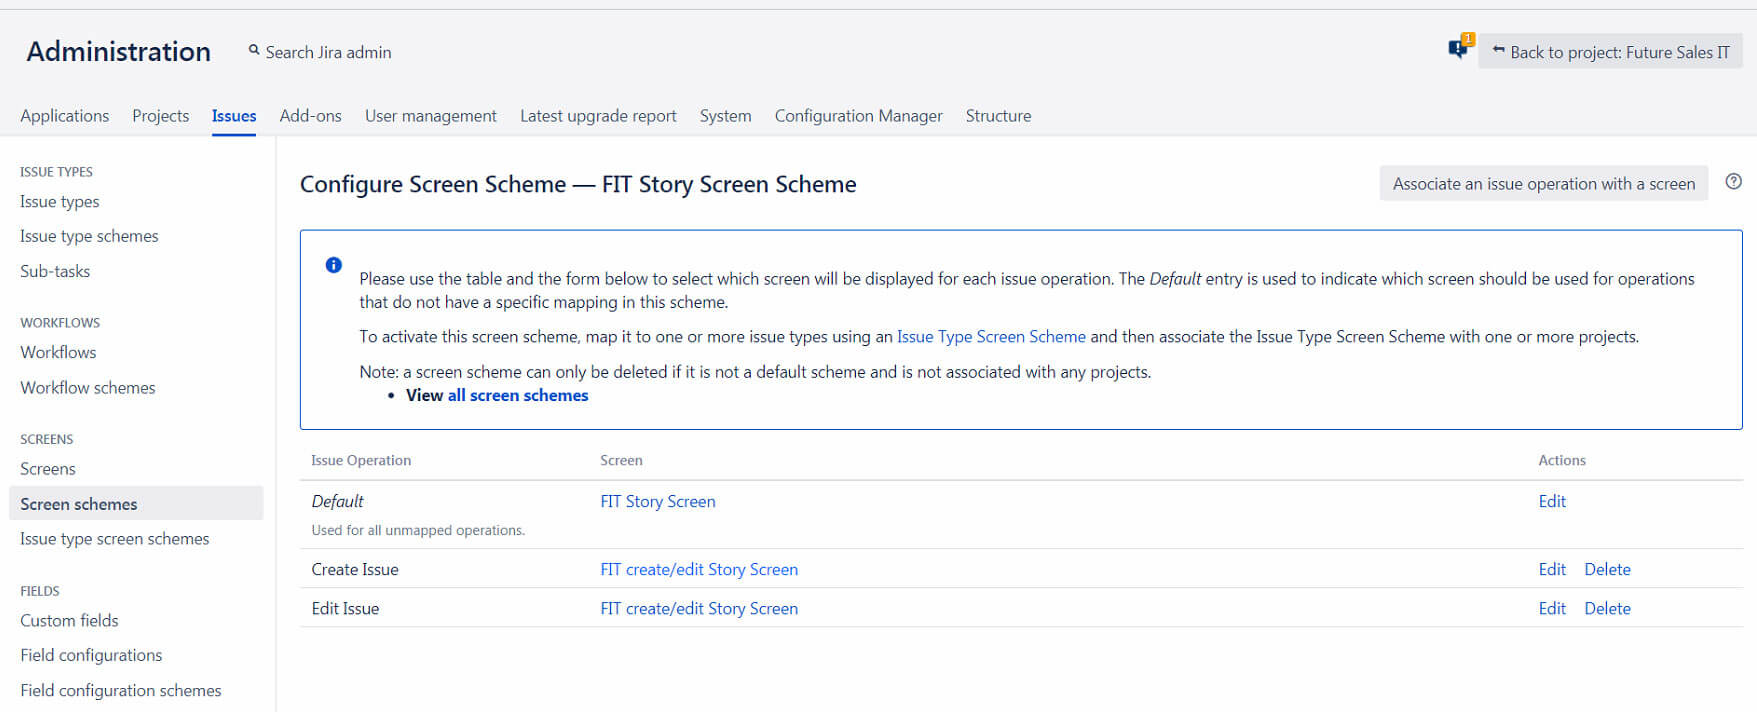
5. Click on the screen links to edit the screens.
6. Find the affected field and remove it.

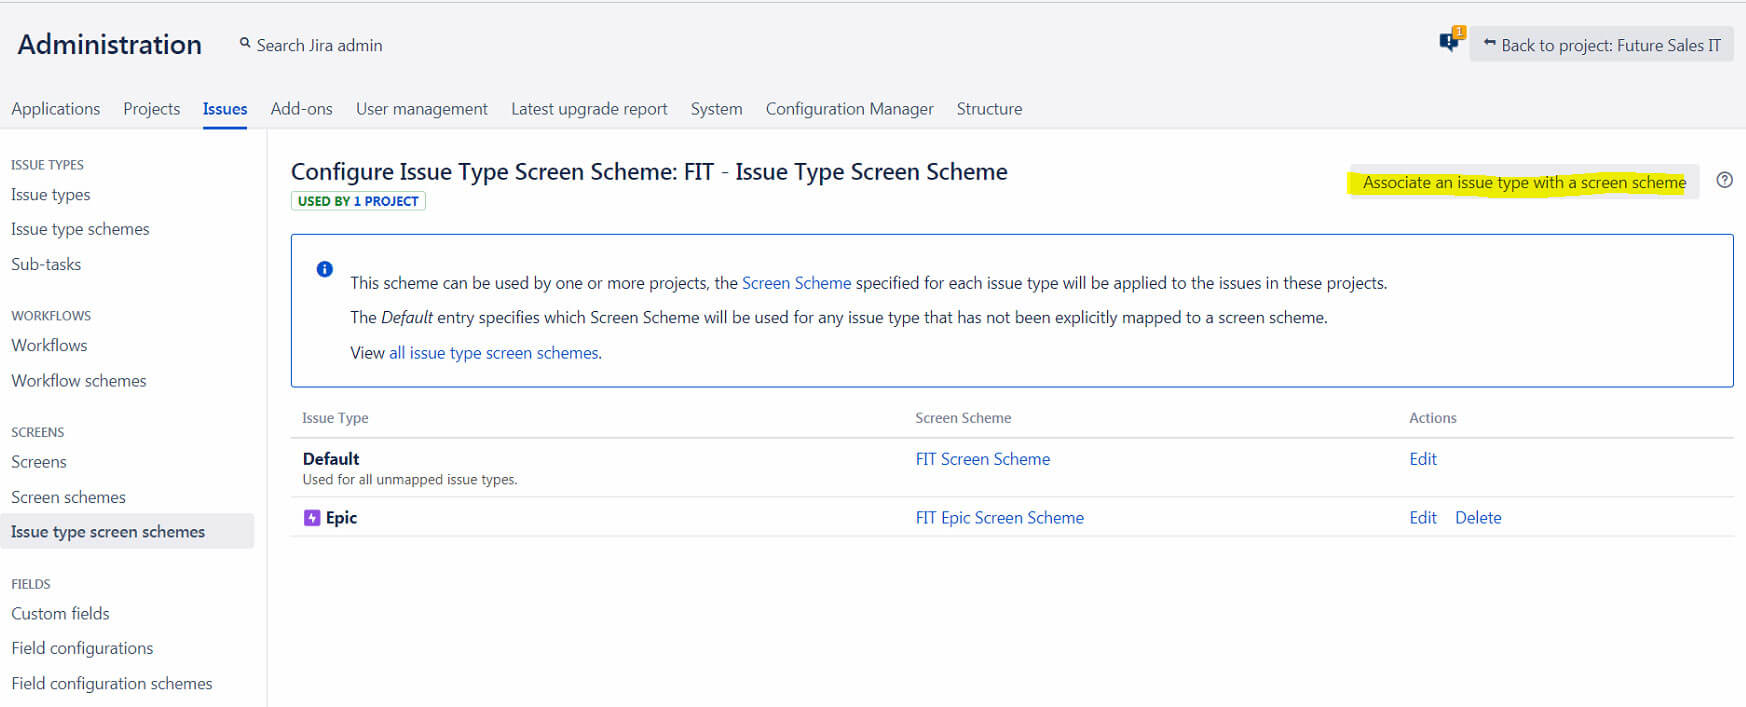
7. When the new screen scheme is ready, go to Issue Type Screen Scheme and search for the issue type screen scheme used in the project:

8. Then click on Configure next to the respective Issue Type Screen Scheme.

9. Click on Associate an issue type with a screen scheme.
10. Select the required issue type and previously created Screen scheme and hit Add.

11. When the new issue type screen scheme is ready, go back to Project Settings → Screens and refresh the page. This is the result you should get:

We hope it helps. If you have any questions, feel free to contact us at [email protected].
Check out our other articles:
- GitHub Enterprise integration with Jira: a step-by-step tutorial
- CCPA vs. GDPR: data privacy laws in Europe and the USA
- Video Tutorial: Portfolio for Jira
- Be SAFe, Part 1: Core Principles and Benefits of the Scaled Agile Framework
- Removing a screen’s field in Jira
Let’s stay in touch!
Follow us on LinkedIn, Facebook and Twitter to get regular updates, tips and special offers.