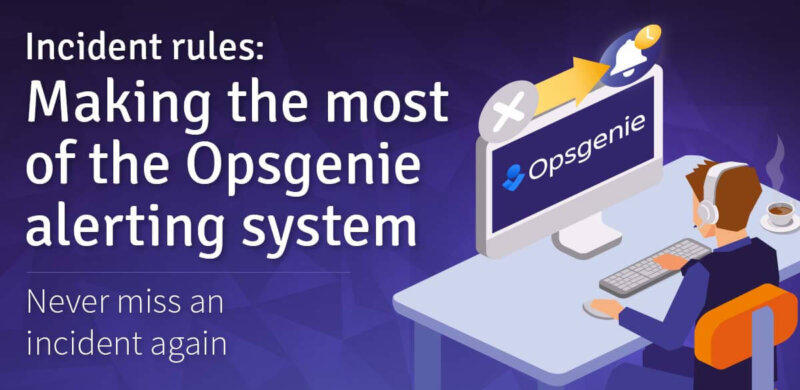
How does Opsgenie work?
Opsgenie seamlessly integrates with your monitoring tools and custom apps and categorizes alerts by timing and priority. The cloud-based software combines on-call schedules, empirical data and predefined escalation rules according to your requirements and only sends an alert when an issue is truly relevant.
For example, Opsgenie sends emails, SMS, calls or push messages, and also creates service tickets in Jira if the applications are linked. At the same time, you can always define which people in your team are responsible and should be contacted in certain operational cases. This way you avoid alert tiredness and assignment misunderstandings.
In addition to the refined recording of errors and the forwarding of messages, another feature ensures a trouble-free process in your company: the advanced reporting. Thanks to this feature, you can identify sources of errors and opportunities for improvement, and take even more targeted action against future errors.
More advantages of Opsgenie
-
Real-time incident tracking
-
Transparent distribution of responsibilities in troubleshooting situations
-
Highly customizable features
-
Regular errors are detected and resolved
-
Integration with more than 200 powerful collaboration tools, e.g., Slack, Jira, GitHub, Microsoft Teams
-
Functionality around the clock, all year round
-
Advanced post-incident analysis and reporting
-
Flexibility in notification methods and forwarding
Definitions: event, warning, incident
Before we start showing you how to ideally set up your Opsgenie alerting system, it’s worth looking at some terms in more detail.
-
Event
-
An event is an observed change in process, system, or workflow that may or may not have a serious impact on the infrastructure of IT services. An example would be updating router ACL and moving firewall policy.
-
Alert
-
An alert or warning is the most important element in the Opsgenie reporting process. It is triggered by an associated event and stores the corresponding information, such as status, activity log and notes.
-
Incident
-
An incident is an event that leads (or may lead) to a significant interruption of business. An example would be the spread of a Trojan horse on the network. All incidents are events, but not every event is an incident. Often a variety of alerts will indicate an incident, if you have configured it that way. You are completely free to define yourself when an event should be categorized as an incident.
-
Incident Rules
-
Incident Rules are sets of rules that define exactly in which situation and under which conditions which actions should be taken and which ones should be avoided. With Incident Rules you set up various workflows for incidents of different priorities, define responsible persons and the best collaboration channels.
But how does the configuration of Incident Rules work? How do you make sure that your alerting system works properly and that only the events you consider to be errors are really reported?
The following step-by-step guide will show you!
Incident Rules: How to set up Opsgenie optimally
Before you configure Incident Rules, there are a few conditions to meet.
1st condition: You need multiple alerts. These can be created from connected systems or manually. Here you can see three priority 3 alerts.
2nd condition: you have invited users in Opsgenie (after all, in case of failure, someone must be responsible).
3rd condition: These users are grouped in a team. Each team has the possibility to define its own schedules and escalation rules, and thus forward alerts in a targeted manner.
4th condition: This team represents a service. Because by defining a service, you can quickly communicate with all parties in Opsgenie when a service is affected by an incident. Services are for example websites, mobile apps or a customer portal.
Now an Incident Rule can be formed according to your requirements. In your configuration you can integrate priorities, times, topics or keywords. Depending on the configuration, future alerts are also included in the rules.
In the following illustrations, we show you as an example how to create a rule to trigger an incident based on a priority 3 alert. At the same time, this incident will increase in priority.
Step 1: Click on Teams and go to the “Incident rules” section, then press the “create incident rule” button.
Step 2: Now the conditions are queried on the basis of which the combination will take place. The selection of the service is particularly important here. This is because automated incident responses always depend on the definition and actuality of the services.
Step 3: The Incident Rule is created and the task of the rule is displayed.
This rule says when a priority 3 alert is created, the incident is automatically added. And this incident receives the priority 1.
Step 4: The automatically created incident can now be found under Incidents:
Step 5: Open this incident and you will see the alerts it contains:
Now you’ve gained insight into how to use and set up Incident Rules from Opsgenie to quickly and effectively identify, prioritize and resolve future issues. While the many benefits of this versatile system speak for themselves, any system or solution chain is only as good as the rules by which it is configured.
Stay tuned for more articles in our series to help you make your company’s functionality crisis-proof for the long term with detailed use cases and further rule guidance.