Where Is Our Personal Data?
Under GDPR Article 30 you’re expected to know what categories of personal data you process and where. Under Article 17 you’re expected to be able to delete it on request. Both obligations assume you can answer a simple-sounding question: what is inside our files?
For Jira attachments, most organisations can’t answer it. This playbook is a working method for changing that – scoping, patterns, execution, documentation, and cadence. It’s written to be useful whether or not you ever buy a scanning tool, though we’ll be upfront at the end about ours.
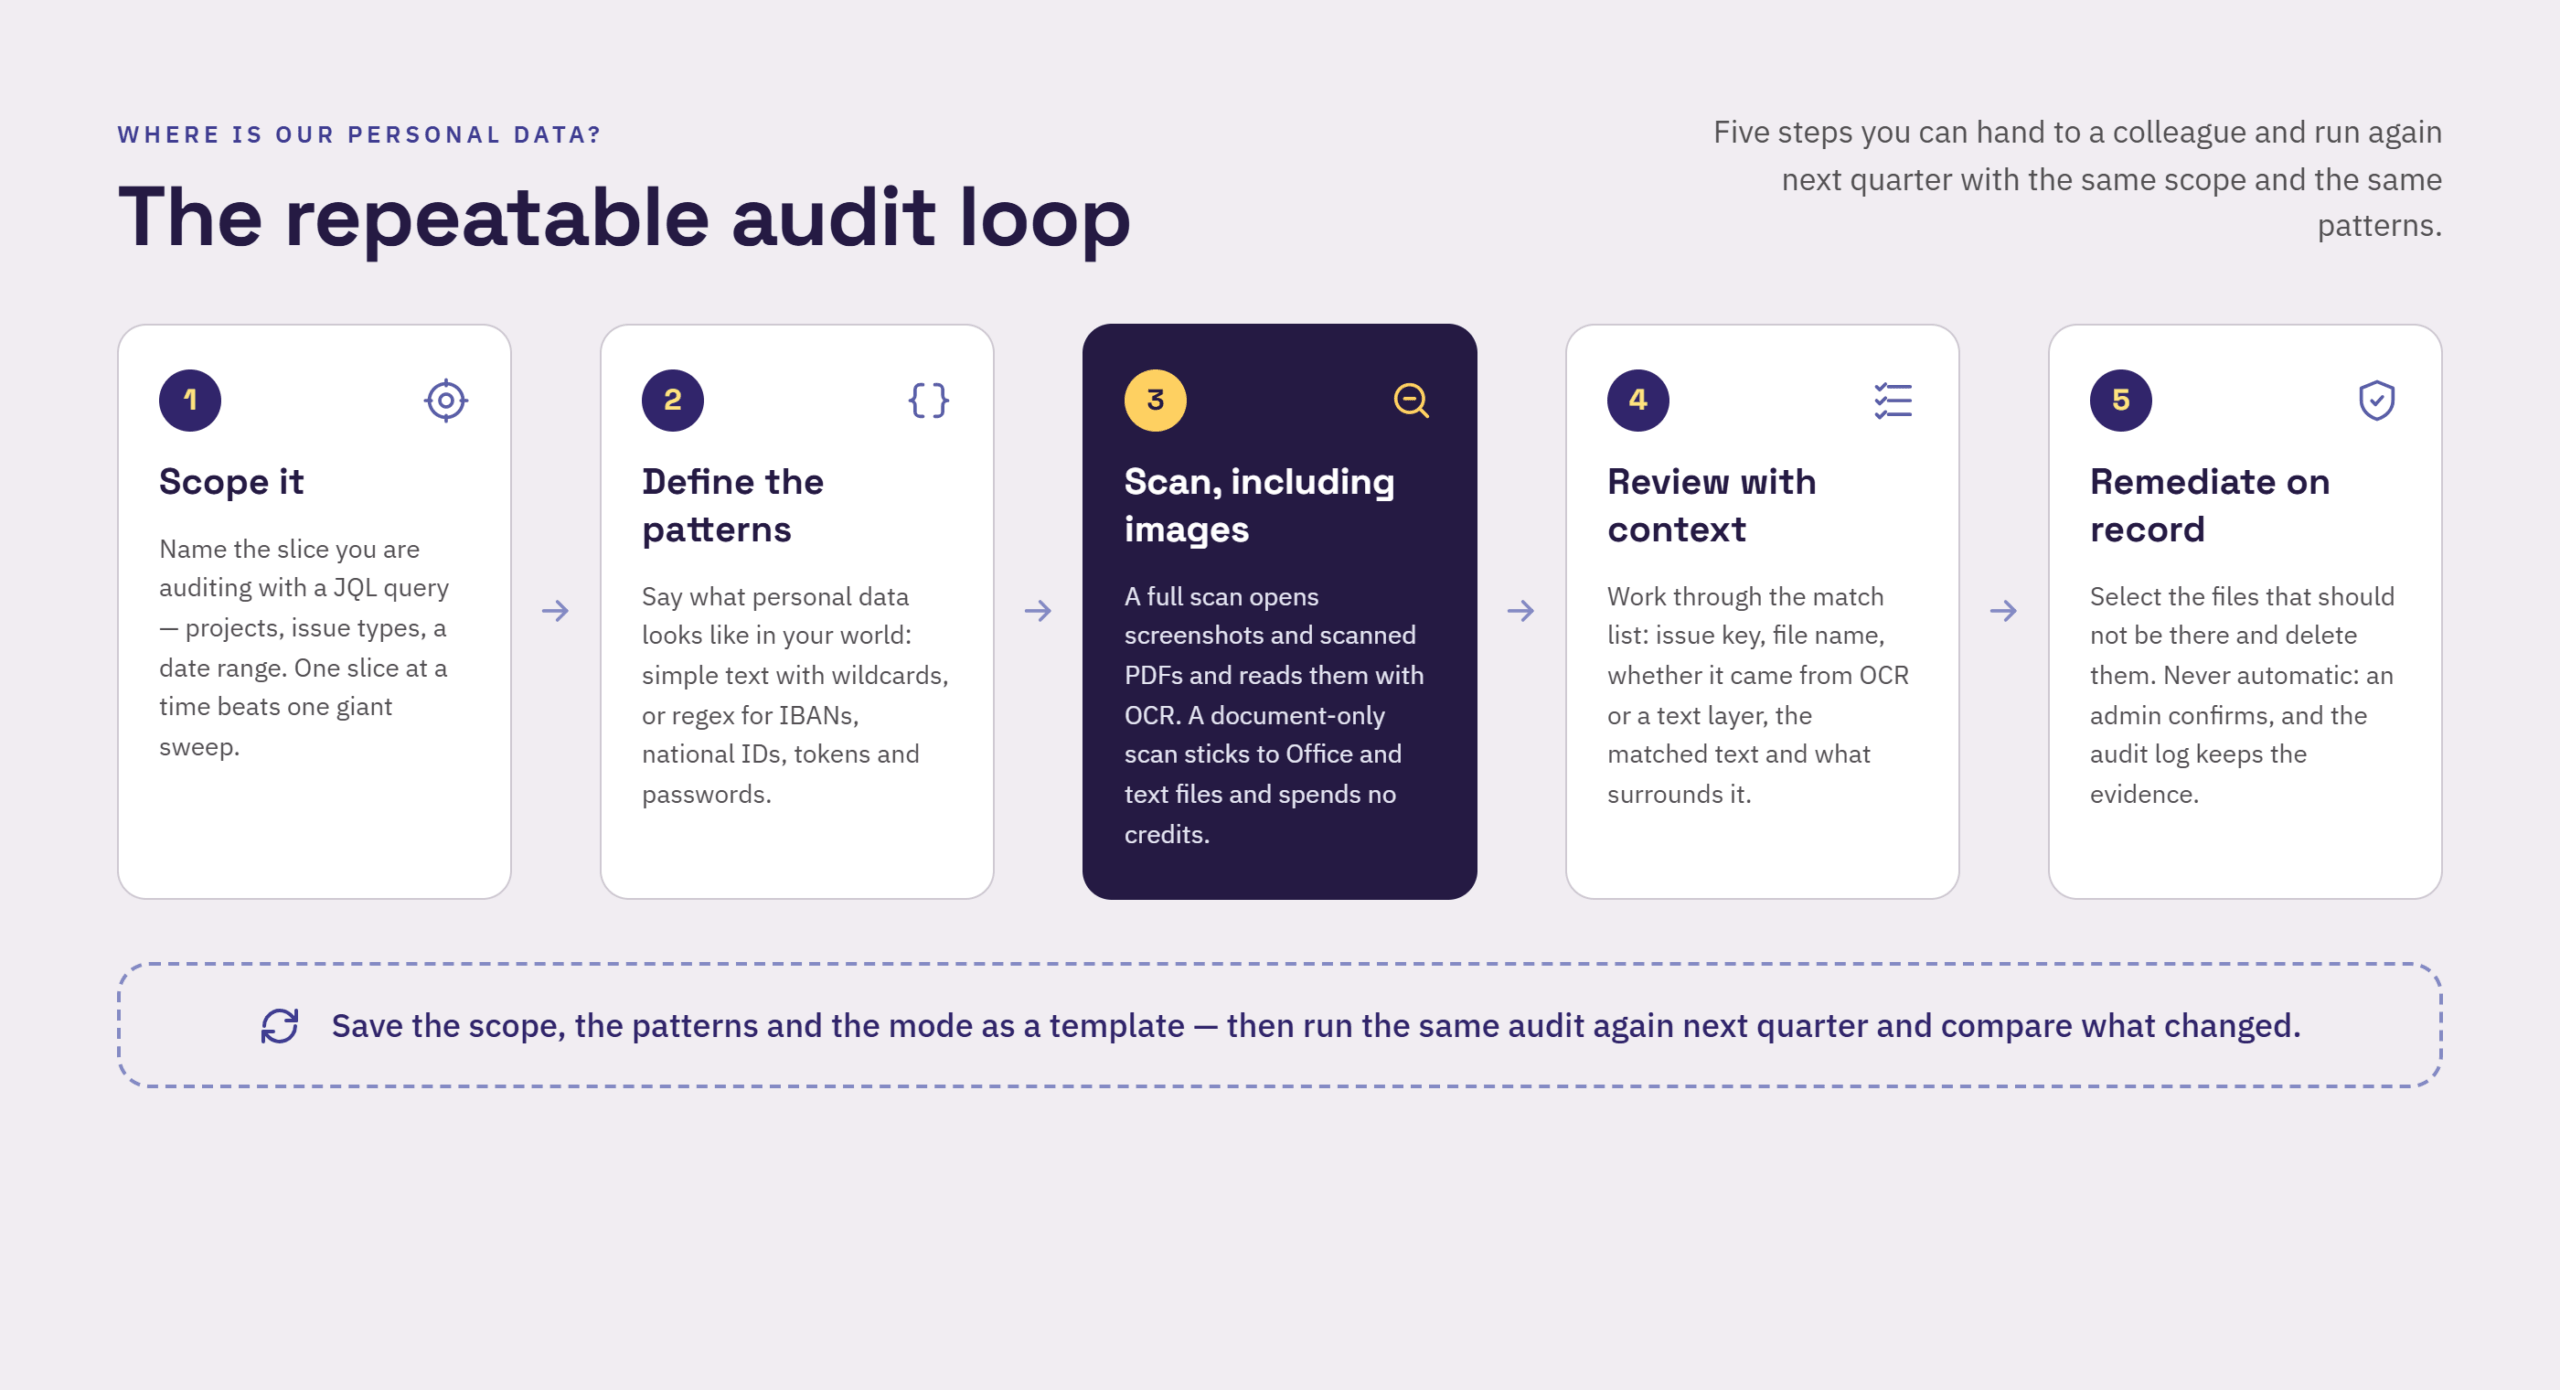
Step 1 – Scope before you scan
The instinct is to scan everything. Resist it. A whole-instance scan takes a long time, produces a findings list nobody can triage, and – if you’re using any OCR-based tool – burns budget on low-risk files.
Scope by risk instead. Three questions narrow it fast:
Who uploads? Files uploaded by customers and external reporters carry far more unmanaged personal data than files uploaded by your own engineers. Service desk queues are the highest-yield starting point by a wide margin.
What’s the workflow? Onboarding, offboarding, billing disputes, KYC checks, incident postmortems, and anything involving HR or finance are structurally likely to attract identity documents, exports, and credentials.
How old? A ticket closed four years ago is both higher risk (nobody’s looked at it, retention rules may have lapsed) and lower urgency (the data is stale). Decide deliberately which end of the timeline you’re starting from.
Turn the answers into JQL. Useful starting scopes:
Customer-facing intake, last 6 months
project = SD AND attachments IS NOT EMPTY AND created >= -180dHigh-risk request types regardless of age
project in (SD, HELP) AND "Request Type" in ("Billing issue", "Account verification") AND attachments IS NOT EMPTYLong-closed tickets past a retention threshold
project = SUPPORT AND status = Closed AND resolved <= -730d AND attachments IS NOT EMPTYA good first scope is somewhere between 500 and 5,000 issues. Big enough to be representative, small enough that you can actually review the output.
Step 2 – Build a pattern set you can defend
Pattern design is where audits succeed or fail. Two failure modes: patterns so loose that the results are 95% noise and nobody triages them, or so tight that you conclude – wrongly – that you’re clean.
Start with a small, high-precision set. These are reasonable starting points; adjust the flavour and escaping to whatever regex engine your tool uses, and test each one against a known-positive file before running at scale.
Credentials and secrets
| What | Pattern |
|---|---|
| AWS access key ID | AKIA[0-9A-Z]{16} |
| GitHub personal token | ghp_[A-Za-z0-9]{36} |
| Slack token | xox[baprs]-[0-9A-Za-z-]{10,} |
| JWT | eyJ[A-Za-z0-9_-]{10,}\.[A-Za-z0-9_-]{10,}\.[A-Za-z0-9_-]{10,} |
| Private key block | -----BEGIN [A-Z ]*PRIVATE KEY----- |
| Labelled password | (?i)(password|passwd|pwd)\s*[:=]\s*\S+ |
| Connection string | (?i)(mongodb|postgres|mysql)://[^\s]+:[^\s]+@ |
Personal and financial data
| What | Pattern |
|---|---|
| Email address | [A-Za-z0-9._%+-]+@[A-Za-z0-9.-]+\.[A-Za-z]{2,} |
| IBAN (generic) | \b[A-Z]{2}\d{2}[A-Z0-9]{11,30}\b |
| Payment card (Visa/Mastercard) | \b(?:4\d{3}|5[1-5]\d{2})[ -]?\d{4}[ -]?\d{4}[ -]?\d{4}\b |
| US SSN | \b\d{3}-\d{2}-\d{4}\b |
| Date of birth (ISO) | \b(19|20)\d{2}-\d{2}-\d{2}\b |
Three practical notes. Email addresses match constantly – run that one only on a narrow scope or you’ll drown. Card-number patterns should ideally be paired with a Luhn check during triage, since any 16-digit string will match. And OCR output introduces its own noise: a zero read as an “O”, a 1 read as an l. Patterns that rely on exact fixed-length digit runs will miss more on scanned documents than on text files, so lean on distinctive prefixes (AKIA, —–BEGIN) where you can.
Also plan for the patterns that are specific to you: internal project codenames, a customer-ID format, a document header used by your KYC provider. These are usually the highest-precision detectors you’ll ever write, and no vendor ships them.
Step 3 – Run, and read the output honestly
Record three things about every run: the JQL scope, the pattern set, and the date. Without those, the results aren’t evidence.
When the findings come back, triage into four buckets rather than one:
- Live secret – rotate immediately, then remove the file, then check whether it spread to other systems. The credential has been readable to everyone with issue access for its entire lifetime. Treat it as disclosed, not as “nearly leaked.”
- Personal data with no lawful basis for retention – the passport photo in a closed ticket from 2021. Delete, and note it in your retention record.
- Personal data that is legitimately processed – an invoice in a billing workflow. Leave it, but confirm it’s covered in your record of processing activities. This bucket is a documentation finding, not a deletion finding.
- False positive – tune the pattern and note why. False positives you don’t tune come back every quarter and slowly train your team to ignore the report.
Step 4 – Turn the audit into a control
A one-off audit is a snapshot. Auditors and regulators care about repeatable controls. Converting one into the other is mostly discipline:
- Save the scan definition. Same JQL, same patterns, reusable. If you’re re-deriving the scope each time, results aren’t comparable across runs.
- Pick a cadence and hold it. Quarterly for high-risk queues, annually for the long tail, plus an ad-hoc run whenever you onboard a new request type that accepts uploads.
- Track the trend, not the absolute. Matches per 1,000 attachments is the metric worth watching. If it’s flat after a cleanup, your intake process is generating new exposure as fast as you remove it.
- Feed findings upstream. Every repeat finding should produce a process change: a request-type description telling customers not to attach full ID documents, a redaction step in the support runbook, an automation that strips attachments from tickets closed longer than your retention window.
- Keep the deletion record. For Article 17 requests specifically, being able to show what was removed, when, and by whom is the point. Deletion without a log is hard to evidence.
Step 5 – Handle data subject requests with the same machinery
When a DSAR arrives, the fields are the easy part – search the requester’s email, export the issues. The attachments are where responses go wrong, because a text search won’t surface the person’s name inside a scanned contract or a screenshot of a chat thread.
The same scoped-scan approach works: build a one-off pattern from the subject’s identifiers (email, customer ID, surname if distinctive enough), scope to projects where they could plausibly appear, and run it. It’s slower than a field search, but it’s the difference between a defensible response and one that quietly omits half the record.
A note on tooling, including ours
Everything above is method, not product. You can execute a version of it manually on a small instance, or with scripts against the Jira REST API if you’re comfortable pulling and parsing attachment binaries yourself.
Where tooling earns its place is the layer manual effort can’t reach cheaply: reading text out of images and scanned PDFs. That’s what we built Attachment Scanner for Jira for. You save a scan definition as a template – name, JQL scope, pattern, and mode – and rerun it on a cadence. Matches come back with issue key, filename, whether the text was extracted directly or via OCR, the matched string, and its surrounding context, so triage is actually possible. Skipped files and errors are shown rather than hidden, which matters for exactly the “suspiciously clean result” problem above. Remediation is bulk-select-and-delete, always confirmed by an admin and always audit-logged.
For teams with data-residency concerns: OCR runs on dedicated EU/EEA GPU hardware we manage, with nothing sent to any public AI service. Attachments are processed in memory and discarded, and only matched snippets live on – in Atlassian’s Forge storage, on your own site.
Constraints to weigh: Jira Cloud only, on-demand scans rather than continuous monitoring, and no shipped detector library – you bring the patterns, which is why Step 2 above is the longest section in this playbook. There’s also a document-only mode that skips images and all PDFs and consumes no OCR credits, which is a reasonable way to sweep Office and text attachments broadly before spending anything on image-heavy scopes.
The short version
Scope by risk, not by completeness. Write a small set of precise patterns and test them before scaling. Triage into four buckets, not one. Save the scan definition so the audit becomes a control instead of a heroic one-off. And be suspicious of any clean result until you’ve confirmed the scan actually opened your screenshots.
Run your first attachment audit this week
Scoped scans, custom patterns, and OCR for screenshots and scanned PDFs in Jira Cloud – free for up to 10 users.

 Request